gluten free lemon bars

The Best Healthy Lemon Bars (With Gluten-Free Option)

Living in the south I have plenty of access to fresh citrus fruits, like lemon. That means plenty of lemon poppyseed muffins and healthy, gluten-free lemon bars. They’re a bright and tart way to wrap up a meal in the summer months. 

There are several ways to make this recipe. If you want a gluten-free lemon bars recipe, then make the lemon bars with almond flour crust. Need a dairy-free version? I’ve included an option for vegan lemon bars too. 

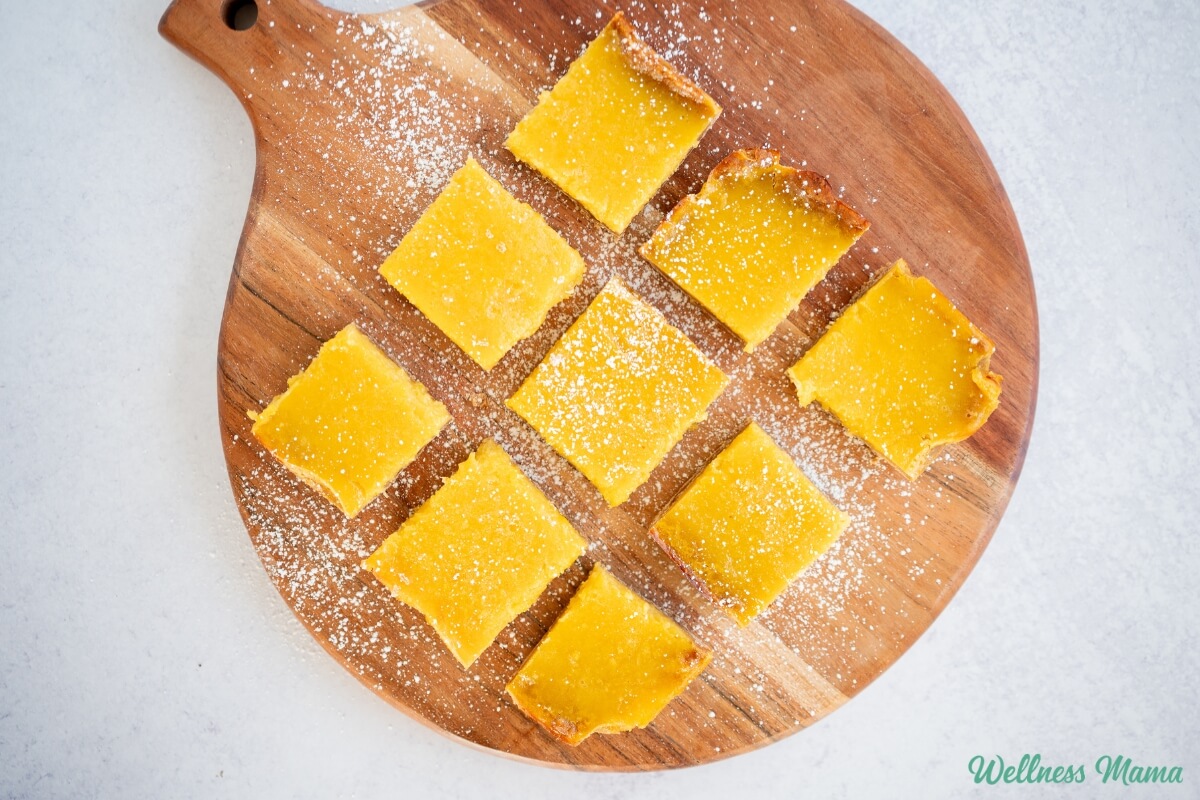
Lemon bars have a bright yellow color, an intense lemon flavor, and a buttery crust. 

How to Elevate Lemon Bars

I’ve seen plenty of easy lemon bar recipes that call for a box of cake mix and a can of lemon pie filling. While I’m a big fan of easy, I’m not willing to sacrifice quality ingredients (or taste!). To me, the best lemon bars recipe has old fashioned taste, is thick and chewy with intense lemon flavor, and still on the healthy side. 

Using quality, real food ingredients is the best way to really have the best taste and texture. 

Lemon Bar Ingredients

Like I said, we’re skipping the boxed cake mix and lemon pie filling with processed sugar and added food dye here. The ingredients are still simple though and the recipe isn’t difficult to pull together. 

For the crust you can use organic, unbleached wheat flour, coconut sugar for a caramel like sweetness, and melted butter for richness. If you want a gluten-free version, then an almond flour crust gives it the perfect subtle nuttiness. And if you need dairy-free, coconut oil works well instead of butter.

The filling uses lemon juice for tartness and lemon zest for tons of natural flavor. Whole eggs and arrowroot powder (or more organic flour) provide thickness. And I use raw honey or maple syrup to naturally sweeten. 

Here’s how to make the best regular or gluten-free lemon bars!

The Best Healthy Lemon Bars (With Gluten-Free Option)

These tart, lemon bars make the perfect, gooey dessert.

  • Preheat the oven to 350°F. Line an 8×8 baking dish with parchment paper.

  • In a bowl, mix together the flour, coconut sugar, and salt. Add melted butter and vanilla, stirring until a soft dough forms.

  • Press dough evenly into the bottom of the pan. Bake for 10–12 minutes, until lightly golden.

  • In a bowl, whisk eggs, honey (or maple syrup), lemon juice, lemon zest, and salt until smooth.

  • Whisk in the flour (or arrowroot) until fully combined.

  • Pour the filling over the warm crust. Bake for 20–25 minutes, until the center is just set (it shouldn’t jiggle much).

  • Let cool completely at room temperature, then refrigerate for at least 1 hour before slicing. This helps them set cleanly and improves the texture.

Nutrition Facts

The Best Healthy Lemon Bars (With Gluten-Free Option)

Amount Per Serving (1 bar)

Calories 136
Calories from Fat 63

% Daily Value*

Fat 7g11%

Saturated Fat 4g25%

Trans Fat 0.2g

Polyunsaturated Fat 0.4g

Monounsaturated Fat 2g

Cholesterol 46mg15%

Sodium 136mg6%

Potassium 33mg1%

Carbohydrates 18g6%

Fiber 0.3g1%

Sugar 11g12%

Protein 2g4%

Vitamin A 222IU4%

Vitamin C 2mg2%

Calcium 9mg1%

Iron 1mg6%

* Percent Daily Values are based on a 2000 calorie diet.

  • For clean slices: Use a sharp knife and wipe between cuts
  • Like them sweeter or more tart? Add another tablespoon of lemon juice or a few more tablespoons of honey to taste. 

Tips For Making the Best Lemon Bars

Also known as lemon squares, lemon bars are pretty easy to make. You simply make and pre-bake the crust, pour in the mixed filling, bake, cool, and slice. 

Should I use parchment paper for lemon bars? – I do because they’re much easier to remove from the pan and slice. You don’t want to leave any of that delicious crust stuck to the bottom of the pan!

Why can’t you use a metal pan for lemon bars? – The acid from the lemon can leach some metal from the pan, giving the lemon bars a metallic taste. There’s less of a risk using parchment paper, but many use non-reactive glass to be safe. 

Shelf Life and Storage – These gluten-free lemon bars will keep fresh in the fridge for up to 5 days. Be sure to cover them in the fridge to preserve their custard-like texture. 

Looking For Lemon

Need some more lemon recipes? Or just in the mood for some lemon flavor? Here are some of our favorites!

What are some of your favorite desserts to have on hand? Leave a comment and let us know!
Tags: , , , ,
Slow_Cooker_Boston_Butt_Recipe

Slow Cooker Boston Butt Recipe (Instant Pot Option)

Growing up and living in the south, I’m pretty familiar with pork barbecue. I’m also familiar with the fact that most barbecue places rely on high fructose corn syrup and other non-foods in their sauce. This Boston butt pork roast recipe avoids all that and simply uses delicious, whole food ingredients for the best taste. 

Boston butt is one of the easiest cuts of pork to cut and it’s also one of the most affordable. I’ve been able to find Boston butt from pastured pork at great prices, and slow cooking this recipe makes it incredibly tender. Boston butt roast in the Crockpot is also an easy recipe on days when you’re out of the house all day and need dinner to be ready when you get home. With a houseful of kids and teens in sports that happens a lot around here!

How to Serve Boston Butt Roast

For our family, one Boston butt roast lasts for about 3 meals with all of the leftovers. It’s a tasty source of protein and tastes good on its own, or repurposed into other dishes. We’ve done barbecue omelets with the leftovers. It also tastes great in tacos or for a protein-rich salad. 

I like the roast alongside almost any kind of potato or vegetable dish. It’s also great with some sourdough bread, rice, or salad. Try it with some sweet potato fries, savory stuffed sweet potatoes, or roasted Brussel sprouts. Here’s a tip: batch cook some roasted whole sweet potatoes to pull out of the fridge for a fast meal. Throw some Boston butt roast BBQ on top and you’ve got an easy meal!

 Use leftovers for tacos, nachos, baked potatoes, lettuce wraps, or breakfast hash.

Tips For the Best Boston Butt Roast Recipe

Store any leftovers in the remaining juices for the best flavor and tenderness. If you ever need to freeze it, freeze it with the liquid too. This protects the texture when it thaws.

If there’s too much liquid for you after cooking, then there’s an easy fix. Simmer for 10–20 minutes, stirring occasionally, until it reduces and looks glossy and slightly thick. It should coat a spoon, not run like broth.

This recipe is great for meal prepping. Use leftovers for tacos, nachos, baked potatoes, lettuce wraps, or even breakfast hash.

Slow Cooker Boston Butt Recipe

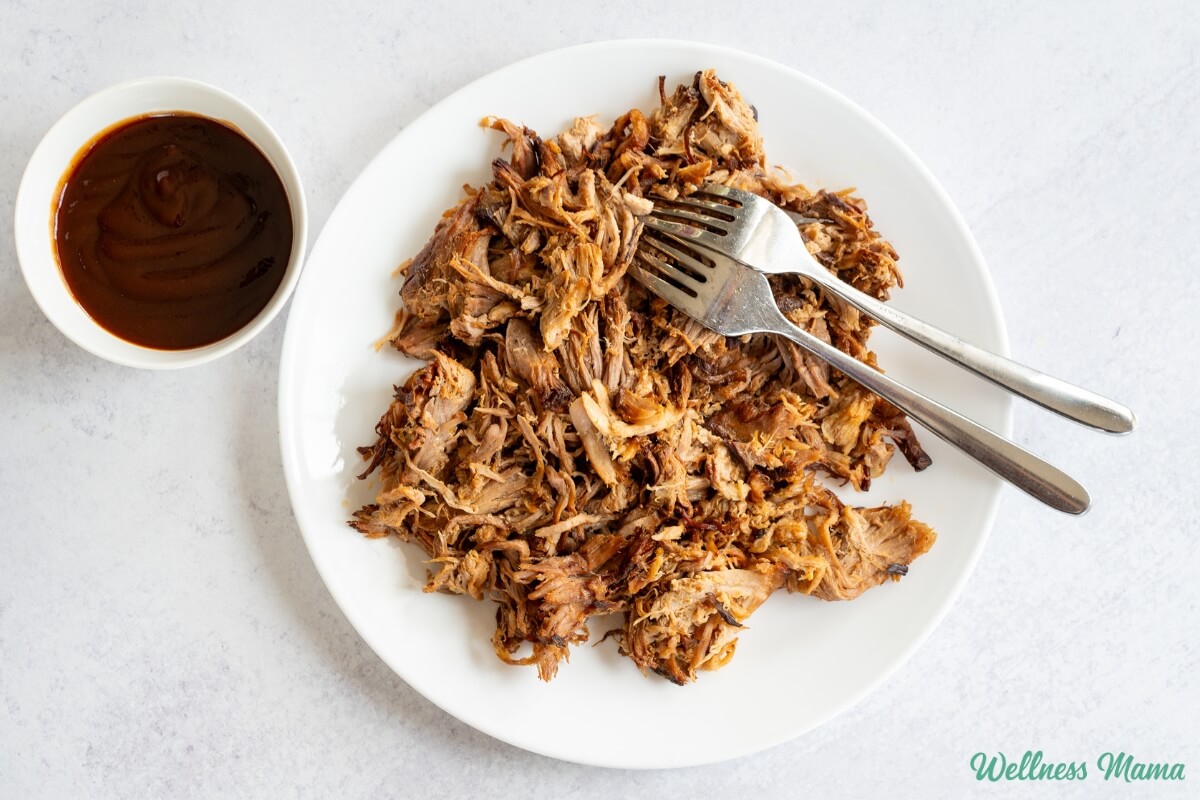
An easy slow cooker Boston Butt with flavorful spices, fruity pineapple, and smoky barbecue.

  • Thinly slice the onions and place them in the bottom of a 6-quart or larger slow cooker.

  • Rinse the Boston butt and place it on top of the onions.

  • Sprinkle with spices.

  • Pour the whole can of pineapple over it. If using fresh pineapple, peel, core, and thin chop the pineapple and place over pork.

  • Add the apple cider vinegar.

  • Put the lid on the slow cooker and cook on low for 10-12 hours or until fork tender. Don’t open until at least 8 hours and then check for tenderness.

  • ?After cooking, shred the pork.

  • Spoon out ½ -1 cup cooking liquid and simmer with the BBQ sauce for 5–10 minutes. Pour the liquid back into the pork and stir to coat.

Nutrition Facts

Slow Cooker Boston Butt Recipe

Amount Per Serving

Calories 585
Calories from Fat 277

% Daily Value*

Fat 30.8g47%

Saturated Fat 11.3g71%

Cholesterol 167mg56%

Sodium 1196mg52%

Carbohydrates 30.9g10%

Fiber 1.9g8%

Sugar 23.9g27%

Protein 44.1g88%

* Percent Daily Values are based on a 2000 calorie diet.

Try leftovers on top of salads or in omelettes for breakfast!

Instant Pot Boston Butt Recipe

The recipe above is for slow cooker Boston butt, but you can easily modify it for the Instant Pot. 

Instant Pot Instructions

  1. Turn the Instant Pot to Sauté. Add a small splash of oil and cook the sliced onions for 3–4 minutes until softened. Press Cancel.
  2. Place the Boston butt roast on top of the onions. Sprinkle evenly with all the spices.
  3. Pour the crushed (or fresh chopped) pineapple and apple cider vinegar over the pork. Add ½ cup of water or broth to help the Instant Pot come to pressure.
  4. Secure the lid and set the valve to Sealing. Cook on High Pressure for 75 minutes. Let the pressure release naturally for 20–30 minutes, then release any remaining pressure.
  5. Remove the pork and shred with two forks.
  6. Turn the Instant Pot back to Sauté and simmer the cooking liquid for 10–15 minutes until slightly thickened.
  7. Stir in the barbecue sauce and simmer for 2–3 minutes.
  8. Return the shredded pork to the pot, toss to coat, and serve.

Are you a barbecue fan? What’s your secret recipe? Please share below!

Tags: , , , , , , ,
Best oLive
Privacy Overview

This website uses cookies so that we can provide you with the best user experience possible. Cookie information is stored in your browser and performs functions such as recognising you when you return to our website and helping our team to understand which sections of the website you find most interesting and useful.
