hair growth serum

DIY Hair Growth Serum (and What Really Helps Hair Grow)

When our body starts to feel overwhelmed by stress, illness, or shifting hormones one of the first places we can see it is our hair. Hormones affect nearly every aspect of health, and I’ve certainly seen the connection between hormones and hair growth firsthand.

After many years of pregnancy, nursing, and thyroid challenges, my body was tired. I remember standing at the bathroom mirror after years of elevated hormones from pregnancy and nursing. The postpartum hair loss finally hit… and boy did it ever.

I addressed the stress and hormone imbalance, and the hair loss slowed. But I still wanted something to help new hair grow more quickly and protect my scalp and hair. This homemade hair growth serum is the result.

Some women go to a dermatologist or beautician for hair concerns. I tend to go to my pantry. Like my homemade sea salt spray, this DIY hair serum for growth is affordable and uses nourishing ingredients to naturally support scalp health.

What Really Causes Hair Loss 

Hair loss rarely happens in isolation. It’s often a sign that something deeper is happening in the body. Common root causes include chronic stress, hormone shifts, thyroid imbalance, postpartum changes, nutrient deficiencies, and post-viral illness. When our body doesn’t have enough resources, it prioritizes keeping us alive. And hair doesn’t make the cut. 

Supporting hair growth starts from the inside. Prioritizing protein, iron, zinc, and B vitamins helps the body rebuild hair tissue. Managing stress through sleep, gentle movement, and nervous system support can also make a noticeable difference. For hormonal hair loss, balancing blood sugar and supporting thyroid and adrenal health can be helpful. 

While addressing the root cause is key, using products topically can also help. That’s where a scalp serum for hair growth can be beneficial.

Do Hair Growth Serums Actually Work?

The answer is, it depends. A serum won’t fix hormone imbalances or chronic stress on its own, but it can support scalp health and stimulate circulation, which helps hair follicles function better.

Treatments like minoxidil are widely used, and studies show they can sometimes work, but not without risks. There are plenty of natural ingredients that can work just as well or even better than the conventional options. Rosemary oil for one. One study showed it worked as well as minoxidil for certain types of hair loss. If you want a natural approach, a homemade serum is a gentle option.

So, what stimulates hair growth best? Healthy circulation, nutrients, lowering inflammation, and a healthy scalp all play a role. A serum can provide the support your scalp needs externally while lifestyle and nutrition address the issue from the inside.

Why Use a Hair Growth Serum?

A good hair serum for growth helps:

  • Stimulate circulation to the scalp
  • Nourish follicles with vitamins and minerals
  • Soothe irritation and dryness
  • Protect hair from environmental damage

Whether you’re looking for the best hair growth serum for women or a hair growth serum for men, the goal is the same: create a healthy scalp environment that supports regrowth.

Best Hair Serum for Hair Growth: DIY Recipe

This DIY serum combines herbs and essential oils traditionally used to support hair and scalp health. It’s gentle enough for regular use and water based so it doesn’t make hair feel really oily.

Key Ingredients in This Serum For Hair Growth

  • Nettle – Rich in iron and vitamins A, C, and K, along with potassium and magnesium. These nutrients are essential for healthy hair follicles. Helps stimulate hair growth and improve scalp health.
  • Horsetail – High in silica, a mineral that supports hair strength and elasticity. Silica is linked with thicker, shinier hair.
  • Aloe Vera Gel – Aloe vera gel naturally soothes the scalp. Its the base of the serum and helps reduce irritation and dryness. Aloe also provides lightweight hydration so it’s great for most hair types.

Essential Oils for Hair Growth

Not only do they smell good, but these essential oils help stimulate circulation and promote hair growth.

  • Rosemary oil is one of the most studied essential oils for hair growth. Some research suggests it may be comparable to minoxidil for certain types of hair loss.
  • Clary sage oil is traditionally used for hormonal balance and may be helpful for hormone-related hair loss. 
  • Lavender oil supports scalp health and has antimicrobial properties, which can help maintain a healthy scalp environment.

Together, these ingredients combine to create a powerhouse hair growth serum!

Hair Growth Serum Recipe

Help stimulate hair growth with this aloe vera, herb, and, essential oil recipe.

Prep Time5 minutes

Steeping Time15 minutes

Total Time20 minutes

Yield: 8 ounces

Author: Katie Wells

  • In a small pan, bring the distilled water to a boil.

  • Remove from the heat and add the dried nettle leaf and horsetail leaf.

  • Cover the pot and let the herbs sit in the water for at least 10 minutes or until the water cools.

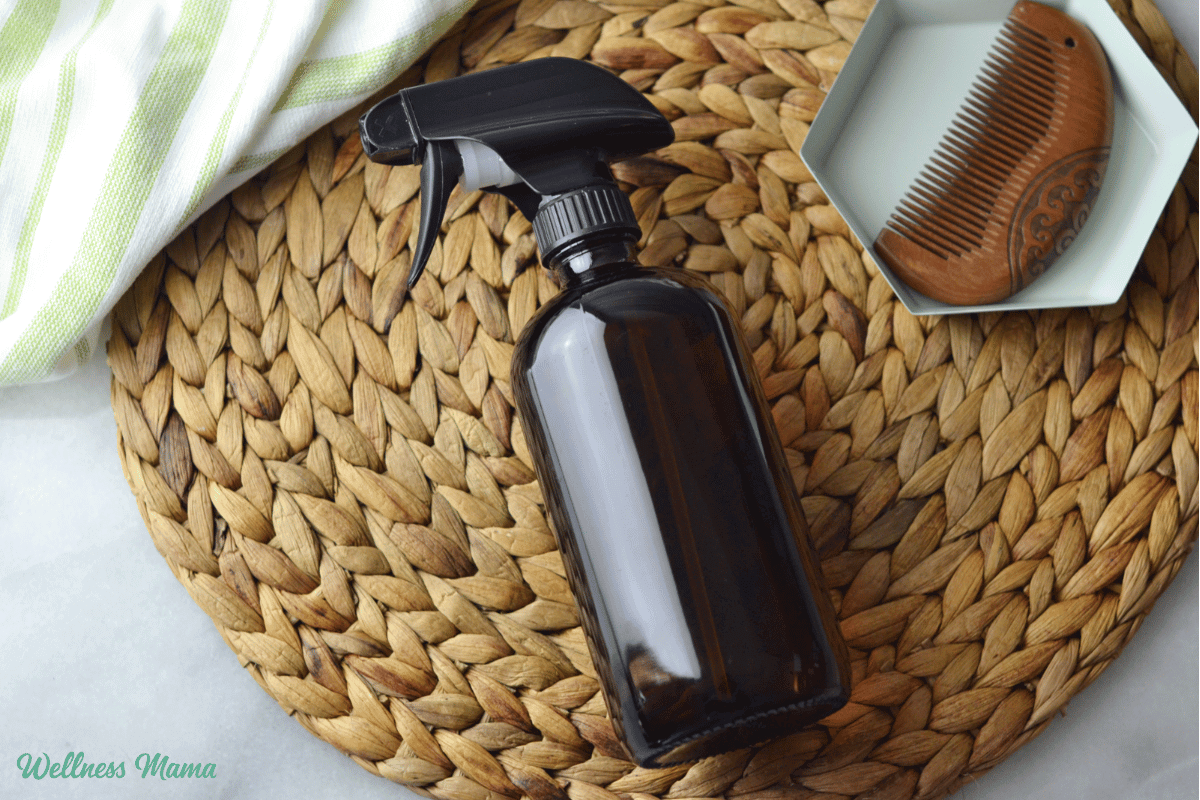
  • Strain the herbs out and pour the herbal tea into a spray bottle.

  • Add the aloe vera gel and essential oils and shake well.

  • Store in the refrigerator and shake well before use.

  • Spray liberally on hair roots once or more per day. I found that it was easiest and worked the best to spray on before bed each night.
  • This hair serum will last about 1 week if stored in the fridge. You can also freeze some if you want to make a bigger batch for later. 

How to Use Scalp Serum For Hair Growth

Apply a small amount of serum to the scalp and massage gently. Focus on your scalp and hair roots. Massage increases circulation, which helps deliver nutrients to follicles. I sprayed this scalp serum on every night before bed. You can use it on either wet or dry hair. 

What Is the Most Effective Hair Growth Serum?

The “most effective” serum depends on the cause of hair loss. Rosemary oil has emerging research and is a popular natural alternative. Herbal and essential oil–based serums, like this DIY recipe, work best as part of an overall approach that includes nutrition, stress management, and hormone support.

So, which hair serum can regrow hair? Regrowth actually depends on follicle health. A serum can support follicles that are dormant or weakened, but it’s much harder to revive inactive follicles. That’s why early intervention and addressing root causes are important.

Final Thoughts on Hair Growth Serum

Hair loss can feel discouraging, especially when it’s tied to postpartum changes, stress, or illness. While hair loss is common in life, we don’t have to take it lying down. It’s so important to address the root causes, but using a hair growth serum can also be really helpful in the meantime. 

I love this hair growth serum because it’s simple with nourishing ingredients and I noticed a definite difference from it. 

How do you support healthy hair? What products have you tried? Leave a comment and let us know!
Tags: , , , , ,
grow microgreens

How to Grow Microgreens at Home (the Easy Way)

Maybe you’ve seen microgreens at your local farmer’s market or farm to table restaurant. These little green plants are similar to sprouts, and just as packed with nutrients. Growing microgreens at home is really easy and offers so many health benefits!

What are Microgreens?

Microgreens are miniature plants of greens, herbs, or other vegetables. Like sprouts, they’re a concentrated nutrient source and packed with beneficial enzymes thanks to their rapid growth. While sprouts are grown without soil and are sprouted seeds, microgreens rely on soil or another growing medium. 

Microgreens are popular at gourmet restaurants because of their distinct flavor and presentation. You don’t have to go to a fancy restaurant though to eat microgreens! Our local health food stores sell them, but I’ll often grow my own microgreens because it’s much cheaper. 

They’re simple enough to grow that you can easily have a fresh plant source in your kitchen year round. One downside to sprouts is their potential to grow bacteria (which is rare) because they’re grown in the air and not soil. With microgreens you’re eating the stem and leaves, not the seed and root. 

Are Microgreens Good For You?

In a word, yes. Research shows that microgreens have 4-40% more micronutrients compared to full grown herbs and veggies. Microgreen benefits include getting fiber, minerals, and vitamins our cells need to thrive. And the benefits of microgreens don’t stop there. You’ll also find antioxidants to fight free radical damage. 

Types of Microgreens to Grow

The most commonly used plants for growing microgreens are:

  • Lettuce
  • Kale
  • Spinach
  • Radish
  • Beet
  • Watercress
  • Herbs
  • Greens
  • Cabbage
  • Mustard
  • Chia
  • Sunflower
  • Buckwheat
  • Clover
  • Kholorabi
  • Peas

Any edible plant that is entirely edible (root to leaves) can technically be used, but the ones above are the most common and taste the best. If you’re looking for the best microgreens for beginners, broccoli and radish stand out. 

Can I Grow Microgreens in Potting Soil?

Yes, potting soil works well with microgreens, but it can get a little messy. I prefer organic potting soil to avoid unwanted pesticide residue. Potting soil usually has some fertilizer mixed in for faster grow time. Just be sure when you’re trimming off the microgreens not to get the dirt along with it.

Another option is coconut coir or coco coir. Made from fibrous coconut hulls, it holds up to ten times its weight in water and is naturally resistant to fungus. It does not have a lot of nutrition in it so you can mix in a little fertilizer or use a 50/50 blend of soil and coco coir. 

If you want to grow microgreens at home without soil (hydroponically), then a hemp mat is a great option. You can grow microgreens in water with a hemp mat and sow the microgreen seeds directly onto that. For this tutorial though I’m focusing on growing seeds in soil (which can impart more nutrients). 

How to Grow Microgreens in a Mason Jar

You can grow seed sprouts in a jar, but you can also grow microgreens that way. Simply follow the same steps as below, but instead of using a shallow container, use a wide mouth jar. The downside to using a jar is that depending on the jar’s size you might not get many greens and they can be harder to harvest.

How to Grow Microgreens in a Tray

This is my preferred method. You just need a shallow, sturdy tray. Some people use plastic microgreen trays, but you can also use glass or compostable ones. 

Here’s how to grow your own microgreens!

What You Need to Grow Microgreens at Home

How to Grow Microgreens:

  1. Find a south-facing window with plenty of sunlight or install a growlight. I’ve found that a growlight mounted under kitchen cabinets works perfectly for growing greens on the counter if you have the space to do it. In warmer months, these can also be easily grown outside.
  2. Place an inch of organic potting mix in the bottom of a shallow tray or planter. You can also use a 50/50 mix of soil and coco coir. Smooth the soil out evenly. 
  3. Thickly scatter seeds evenly over the soil surface. 
  4. Cover the seeds with a thin layer of soil and spray the surface with clean, filtered water. I use a glass spray bottle.
  5. Place on the warming mat, if using, and under the grow light or near a sunny window.
  6. Mist the seeds a few times a day to keep the soil evenly moist while waiting for the seeds to germinate. You can also put a small fan on them to give them a gentle breeze, deter mold, and improve growth. 
  7. Greens are usually ready to harvest in 2-4 weeks, depending on the type of seed used.
  8. To grow another crop, either remove the roots and replant or dump the entire tray in the compost and fill with more soil mix to replant. If you dump in the compost, some straggler seeds usually volunteer and make a crop of their own a few weeks later.
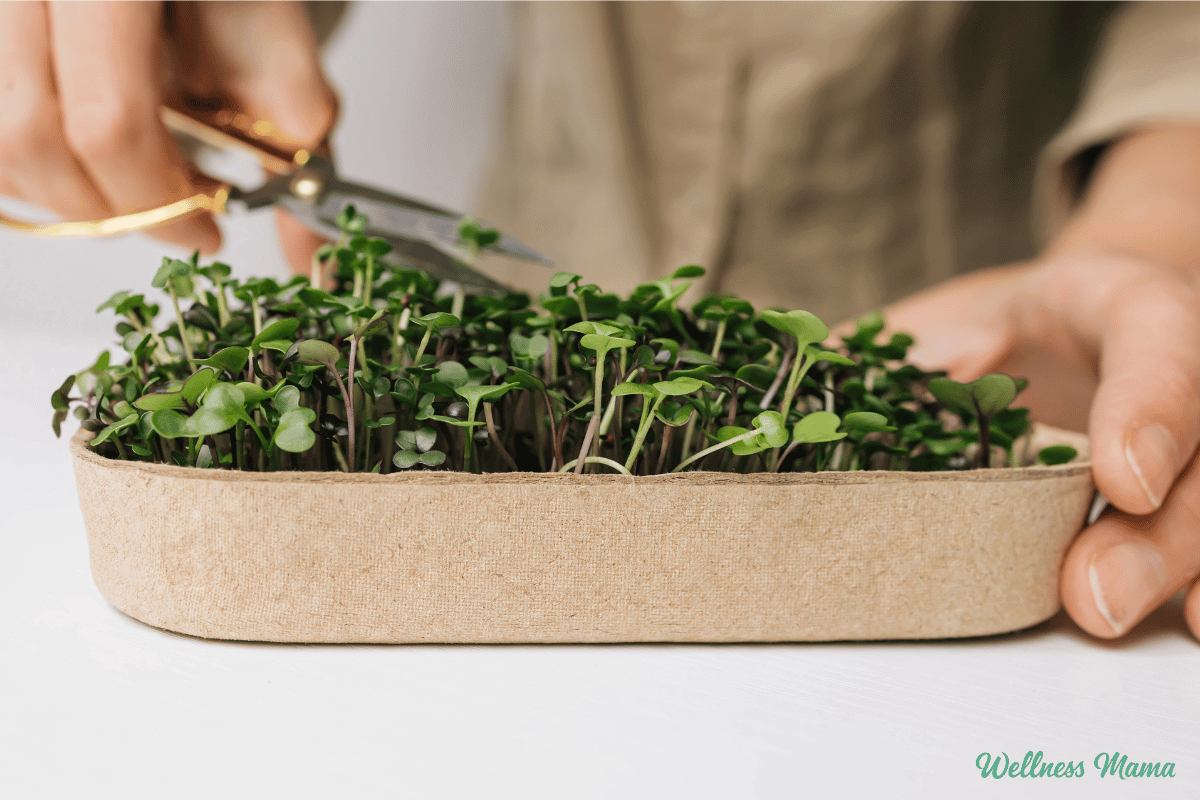
  9. Cut microgreens right above soil level with kitchen shears. Store in the fridge and rinse right before use. 

TIP: Soaking the seeds overnight will speed sprouting time, but make it more difficult to scatter them.

You’ll spread more seeds than you would if just planting the seeds to grow to full size. Since they’ll only get 1-2 inches tall and you want to harvest as many as possible from each tray.

Troubleshooting Common Microgreen Growing Problems

My seeds won’t sprout – They may not be getting enough light or it may not be the right temperature. Microgreens are versatile, but the ideal soil temperature for seed germination is 60-75 degrees. The air around the soil should ideally be between 60-70 degrees. Microgreens take 7-21 days before they’re ready to harvest. Or your seeds may be too old to germinate.

Why are my sprouts fuzzy? – The seed roots are often naturally fuzzy, this doesn’t necessarily mean it’s mold. If it’s slimy, doesn’t wash off, and is growing on the greens, then it’s mold. 

There’s mold growing on the soil – If you do have a mold problem, this can be due to too much water or a drainage issue. Your microgreen trays also need good airflow to deter fungal growth. Mixing some coco coir into the potting soil helps improve drainage too.  

Do I need plant growing lights? – You don’t need them, but they can be helpful, especially on darker winter days. If you don’t have a plant light, pick a very sunny windowsill. 

My microgreens are tall and falling over – If you’re using a light source that’s too far above the microgreens or poor quality, it can cause them to get “leggy.” The stalks have to stretch too high to reach the plant growing light. 

Do Microgreens Regrow After Cutting?

Certain seeds might give you a little bit of a crop after harvesting, but not much. It’s best to compost the soil medium after you harvest and start fresh. Experts generally recommend not reusing the same soil for microgreens because of disease risk and lower yields. If you have a compost pile going in the backyard though, then you can incorporate some of your finished compost into your microgreen soil mix. 

How to Eat Microgreens

You don’t need any special microgreens recipes to use them. They work well on top of any kind of salad and most dishes. Try them on top of some grain-free eggs benedict, a burger bowl, or garnish for some soup. Microgreens can work on top of almost any savory dish!

Have you ever grown your own herbs or plants inside? What are your favorite ways to use microgreens? Leave a comment and let us know!

Tags: , , ,
Best oLive
Privacy Overview

This website uses cookies so that we can provide you with the best user experience possible. Cookie information is stored in your browser and performs functions such as recognising you when you return to our website and helping our team to understand which sections of the website you find most interesting and useful.