
Celebrate Women’s Day with Curated Beauty & Skincare Essentials

Celebrate Women’s Day with Curated Beauty & Skincare Essentials

This Women’s Day, celebrate yourself with mindful self-care with LEAFOBERRYY’s Glow Ritual Hamper—a thoughtfully curated duo designed to hydrate, soothe, and restore natural radiance, this hamper transforms everyday skincare into a sensorial ritual of care.

At the heart of the hamper is the Floral Fusion Face Wash, a gentle yet effective cleanser crafted with Rose, Hibiscus, and Hyaluronic acid. This soap-free formula cleanses without stripping the skin’s natural moisture. Rose soothes and comforts, Hibiscus provides mild exfoliation to reveal fresh, glowing skin, and Hyaluronic acid ensures hydration stays locked in; even after cleansing. The result is skin that feels clean, soft, and refreshed—never dry or tight.

Complementing the facewash is the Veti Glow Toner, an alcohol-free, multi-benefit toner infused with Rose, Vetiver, and Red ginseng. Rose gently calms and refreshes the skin, Vetiver helps balance and soothe stressed skin, while Red Ginseng energises and revitalises dull complexions. Enriched with ceramides, the toner strengthens the skin barrier and supports long-term skin health, reducing moisture loss and improving resilience. Hyaluronic acid delivers deep, lasting hydration, leaving the skin plump, soft, and naturally luminous. With regular use, skin appears smoother, more balanced, and visibly radiant—making it an essential step for a healthy glow.

Together, this combo offers a complete glow ritual that nourishes the skin while creating moments of calm and indulgence. Perfect for gifting or self-love, it is a reminder that caring for your skin is one of the most beautiful expressions of selflove.

MRP: Combo @ INR 810 Only

BUY HERE: https://leafoberryyskincare.com/

Disclaimer: Gift box images are for illustrative purposes only. Packaging may vary based on availability.

Luxiora’s Lip Kit Trios That Make Women’s Day Gifting Effortless

There’s truly no such thing as too many lipsticks—especially when they’re curated to take her from day dates to night glam. This Women’s Day, Luxiora Cosmetics makes gifting effortless with its 3-in-1 Lip Kits, designed to build, layer, and switch moods in seconds.

Each kit includes three full-size lip essentials—a crème-matte bullet lipstick for comfortable everyday wear, a kiss-proof, long-wear liquid matte for definition, and a high-shine gloss topper that elevates any look from subtle to statement. Infused with Vitamin E, Candellila, and SPF 15+, the formulas deliver skin-loving care with rich colour payoff, while remaining lightweight, non-drying, and easy to wear from morning coffee runs to late-night plans.

Choose her vibe (or gift both):

• Latte Brown Lip Kit – Featuring Prestige Nudes, Berry Boost, and Twilight Nude, this trio is ideal for everyday nude-brown lovers and office-to-evening looks, finishing with a “latte gloss” in seconds.

• Pookie Pink Lip Kit – With Prestige Plum, Mauve Vibe, and Gleam Pink, this set delivers soft-glam, festive-ready pink lips that stay longer and photograph beautifully.

Travel and event-friendly, one kit does it all—day looks, night glam, and quick touch-ups. Both together? The ultimate lip wardrobe for women!

Price: Rs 999 per kit

Available at: https://www.luxioracosmetics.com/collections/lip-kits

Gift an All-in-One Skin Solutions Kit by Magical Blends this Women’s Day

Designed for skin that changes daily, Magical Blends’ All-in-One Skin Solutions Kit is a patented, personalised skincare system that lets you mix and match based on your skin’s mood. Easy to use and beginner-friendly, it’s a smart alternative to rigid, multi-step routines — making it a thoughtful and versatile pick for Women’s Day gifting.

The 3-week kit features six targeted serums — SunDefence SPF 50 PA++++ Sunscreen Serum, Vit C Brightening Serum, Glow Boosting Serum, Pore Refining Serum, Skin Plumping Serum and Renewing Overnight Serum — paired with two hydrating bases: a Light Hydrating Gel and a Deep Nourishing Cream. Simply blend 1-3 drops of desired serums with the preferred base and apply.

Dermatologically tested and made with plant-based actives, the kit is free from artificial fragrances, colours, mineral oil, sulphates and phthalates. Cruelty-free, travel-friendly and fuss-free, it’s an easy, feel-good Women’s Day gift that fits seamlessly into any skincare routine.

Price: INR 2000

To Buy: https://magicalblends.in/products/all-in-one-skin-solutions-3-weeks-kit
Tags: , , , , , ,
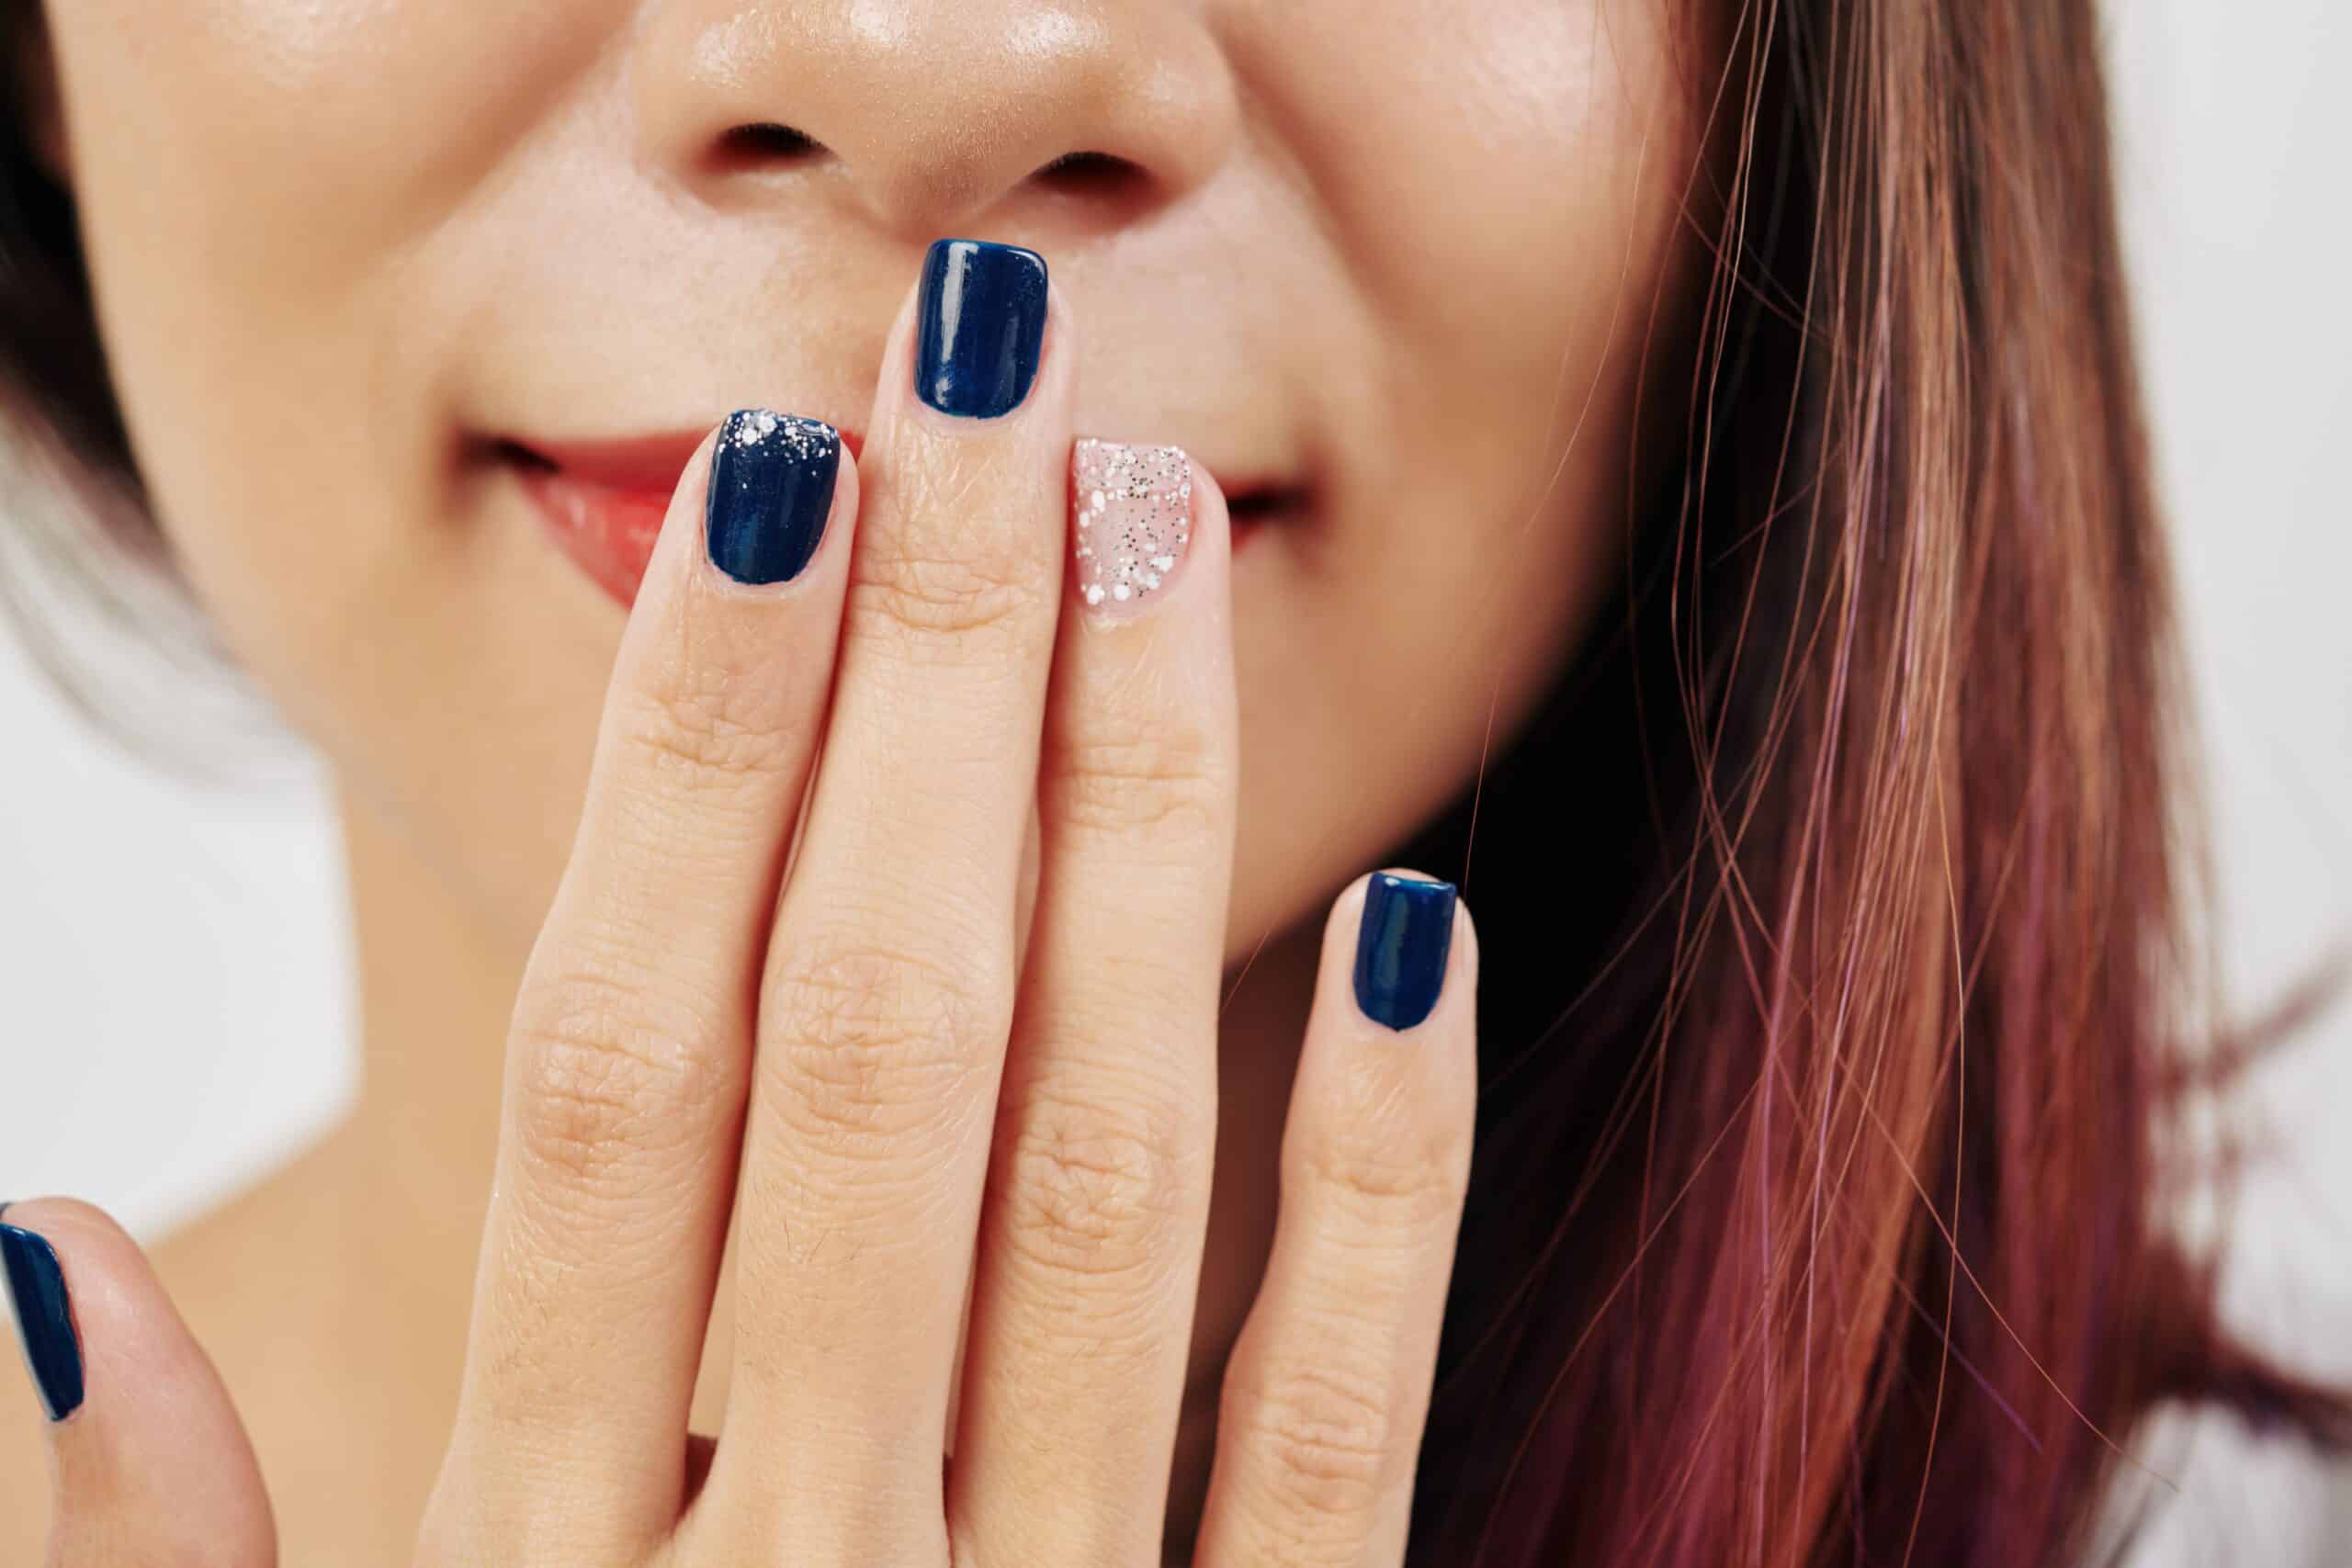
dark nails with glitter

Thanksgiving Nails: Easy DIY Ideas to Celebrate in Style

The holiday season is right around the corner, and what better way to show your festive spirit than with Thanksgiving-inspired nails? 

Professional nail art looks amazing but you can get in the holiday mood with DIY manicure. Here are easy DIY Thanksgiving nail ideas to celebrate in style.

]]>Jump to:

1. Fall-Inspired Base Colors

The perfect Thanksgiving manicure starts with colors that capture the season’s warmth. 

The usual burgundies and deep reds are getting an upgrade this season. Instead of going for the same old wine-colored polish, try a deep berry shade with gold shimmer mixed in. It catches the light beautifully and adds something special to an otherwise basic manicure. 

Dark forest greens are also having a moment. They’re moody enough for fall but still totally wearable for work or weekends.

For something different, try a deep navy blue. It’s unexpected for fall but works perfectly with autumn clothes and gives a sophisticated edge to any outfit. 

The best part? These colors look great in any finish: glossy, matte, or somewhere in between.

How to Achieve Basic Fall Manicure

Step 1: Clean nails with polish remover and buff gently

Step 2: Apply a quality base coat to protect your nails

Step 3: Select your fall shade (try mixing burnt orange and copper)

Step 4: Paint 2-3 thin coats, waiting 2 minutes between each

Step 5: Add a shimmery top coat for extra shine

Step 6: For accent nails, add gold details or glitter

This classic look is perfect for those who want seasonal style without the fuss. The best part? It pairs perfectly with everything from cozy sweaters to fancy Thanksgiving dinner outfits.

2. Simple Leaf Design

Fall leaves are the perfect way to celebrate the season without being too obvious. This design looks impressive but uses basic techniques anyone can handle. The secret is not aiming for perfection because real leaves aren’t perfect either.

How to Create Fall Leaves

Step 1: Choose a fall-colored base (burgundy works great)

Step 2: Make three small dots in a triangle shape

Step 3: Use a thin brush to connect the dots

Step 4: Add a simple stem at the bottom

Step 5: Dot some gold polish for extra sparkle

Step 6: Lock in your design with top coat.

These delicate leaves bring a touch of nature to your manicure while keeping things elegant. They’re subtle enough for work but festive enough for holiday celebrations.

Want something easier? Try a gradient of fall colors across your nails, going from deep red to orange to yellow. It mimics the way leaves change color and looks way more complicated than it actually is. 

You can also do a simple accent nail with a leaf design while keeping the rest of your nails solid.

3. Easy Plaid Pattern

Plaid screams cozy fall vibes and this nail version is easier than you’d think. The trick is focusing on one or two accent nails rather than trying to plaid everything. Trust me, your sanity will thank you later.

How to Create a Plaid Design

Step 1: Paint a light neutral base color

Step 2: Apply thin striping tape in parallel lines

Step 3: Paint over with your chosen fall shade

Step 4: Remove the tape while the polish is still wet

Step 5: Repeat the process with crossing lines

Step 6: Finish with a thick top coat.

This design looks complex but takes less than 30 minutes to create. It’s perfect for those who want to make a statement without spending hours on their nails.

4. Seasonal Squash

Now that you’ve mastered plaid, take it up a notch to create a simple pattern for pumpkins and squash. Perfect for celebrating the season’s bounty!

5. Copper Shimmer

This season’s glitter isn’t about looking like a disco ball. Instead, try polishes with fine shimmer that gives depth to fall colors. 

A brown polish with copper shimmer or a grey with silver sparkles adds interest without going overboard. 

These subtle sparkles work especially well in office settings where you want to keep things professional but still fun.

For weekends, you can go a bit bolder with metallic accents. Try painting just the tips of your nails with gold or copper polish, or add a thin metallic stripe down the center of each nail.

6. Pumpkin Spice and Everything Nice

Pumpkins are not just for your coffee anymore. Orange is having a real moment in nail art but forget about bright Halloween orange. 

Look for burnt orange, terra cotta, and copper shades that feel sophisticated. These colors work especially well with matte top coats, which give them a velvet-like finish.

For a cute but not cutesy pumpkin design, paint tiny white pumpkin silhouettes on one or two nails while keeping the others in solid fall shades. Or try a gradient from orange to white for a candy corn effect that’s subtle enough for grown-ups.

7. Acorn Accents

Take a basic nude colored manicure up a notch with simple acorn shapes. Dot on black and white polish on the nail bed of an accent nail with black French tips.

8. Modern French Tips

The French manicure is back but with autumnal twists. Instead of white tips, try gold or copper. Or go for an ombre effect where the tip gradually fades into the base color. 

This works beautifully with fall shades like burgundy fading into nude, or dark green fading into a lighter sage.

Another option is to do the tips in different fall colors on each nail, keeping the base neutral. This gives you the chance to wear all your favorite autumn shades at once without looking too busy.

9. Quick and Easy Options

Not everyone has time for complicated designs. A solid color in any fall shade looks perfectly seasonal and takes minutes to apply. 

Dark purple, burgundy, or forest green are foolproof choices that go with everything in your fall wardrobe.

If you want something a little extra but still simple, try adding a single thin stripe of gold down the center of each nail, or just on the ring finger as an accent. It takes barely any extra time but makes your manicure look much more intentional.

Essential Tips for Success

Getting your Thanksgiving nail art right comes down to a few key practices that make all the difference in your final look.

Tip 1: Proper Nail Prep

Clean your nails thoroughly with polish remover and gently buff the surface. Push back your cuticles and trim any hangnails. 

A smooth, clean canvas makes your design look more professional and helps it last longer. Apply a base coat and let it dry completely before starting your design.

Tip 2: Quality Tools Matter

Invest in a few basic tools like thin brushes, dotting tools, and striping tape. Good quality brushes make precise lines easier while dotting tools create perfect circles every time. 

Clean your tools after each use to prevent polish buildup and keep them working like new.

Tip 3: Work in Good Lighting

Natural daylight or a bright desk lamp helps you spot mistakes and ensure even application. Poor lighting can make you miss spots or apply polish unevenly. 

Position your workspace near a window or use a good LED lamp to see what you’re doing clearly.

Tip 4: Take Your Time

Rushing leads to smudges and mistakes. Allow each layer to dry completely before adding the next element. 

If you’re creating detailed designs, practice on paper first to get comfortable with the motion. It’s better to spend extra time doing it right than to rush and start over.

Tip 5: Master the Clean-Up

Keep a small angled brush and acetone handy for tidying edges. Dip the brush in acetone and carefully clean around your cuticles after applying polish. 

This simple step makes your manicure look salon-perfect. For detailed designs, use a cotton swab to fix small mistakes before they dry.

Tip 6: Seal Your Design

Apply your top coat carefully to avoid smearing designs. Start with a thin layer, then add a thicker one once the first is dry. 

Make sure to cap the free edge of your nails to prevent chipping. Also, try reapplying top coat every few days to extend the life of your manicure.

Ready for the Holiday Table?

These nail designs are perfect for showing your holiday spirit while staying practical enough for all your Thanksgiving preparations. So have fun with it, experiment with different combinations, and most importantly, wear your design with confidence.

2

Tags: , , , , , ,
Best oLive
Privacy Overview

This website uses cookies so that we can provide you with the best user experience possible. Cookie information is stored in your browser and performs functions such as recognising you when you return to our website and helping our team to understand which sections of the website you find most interesting and useful.
