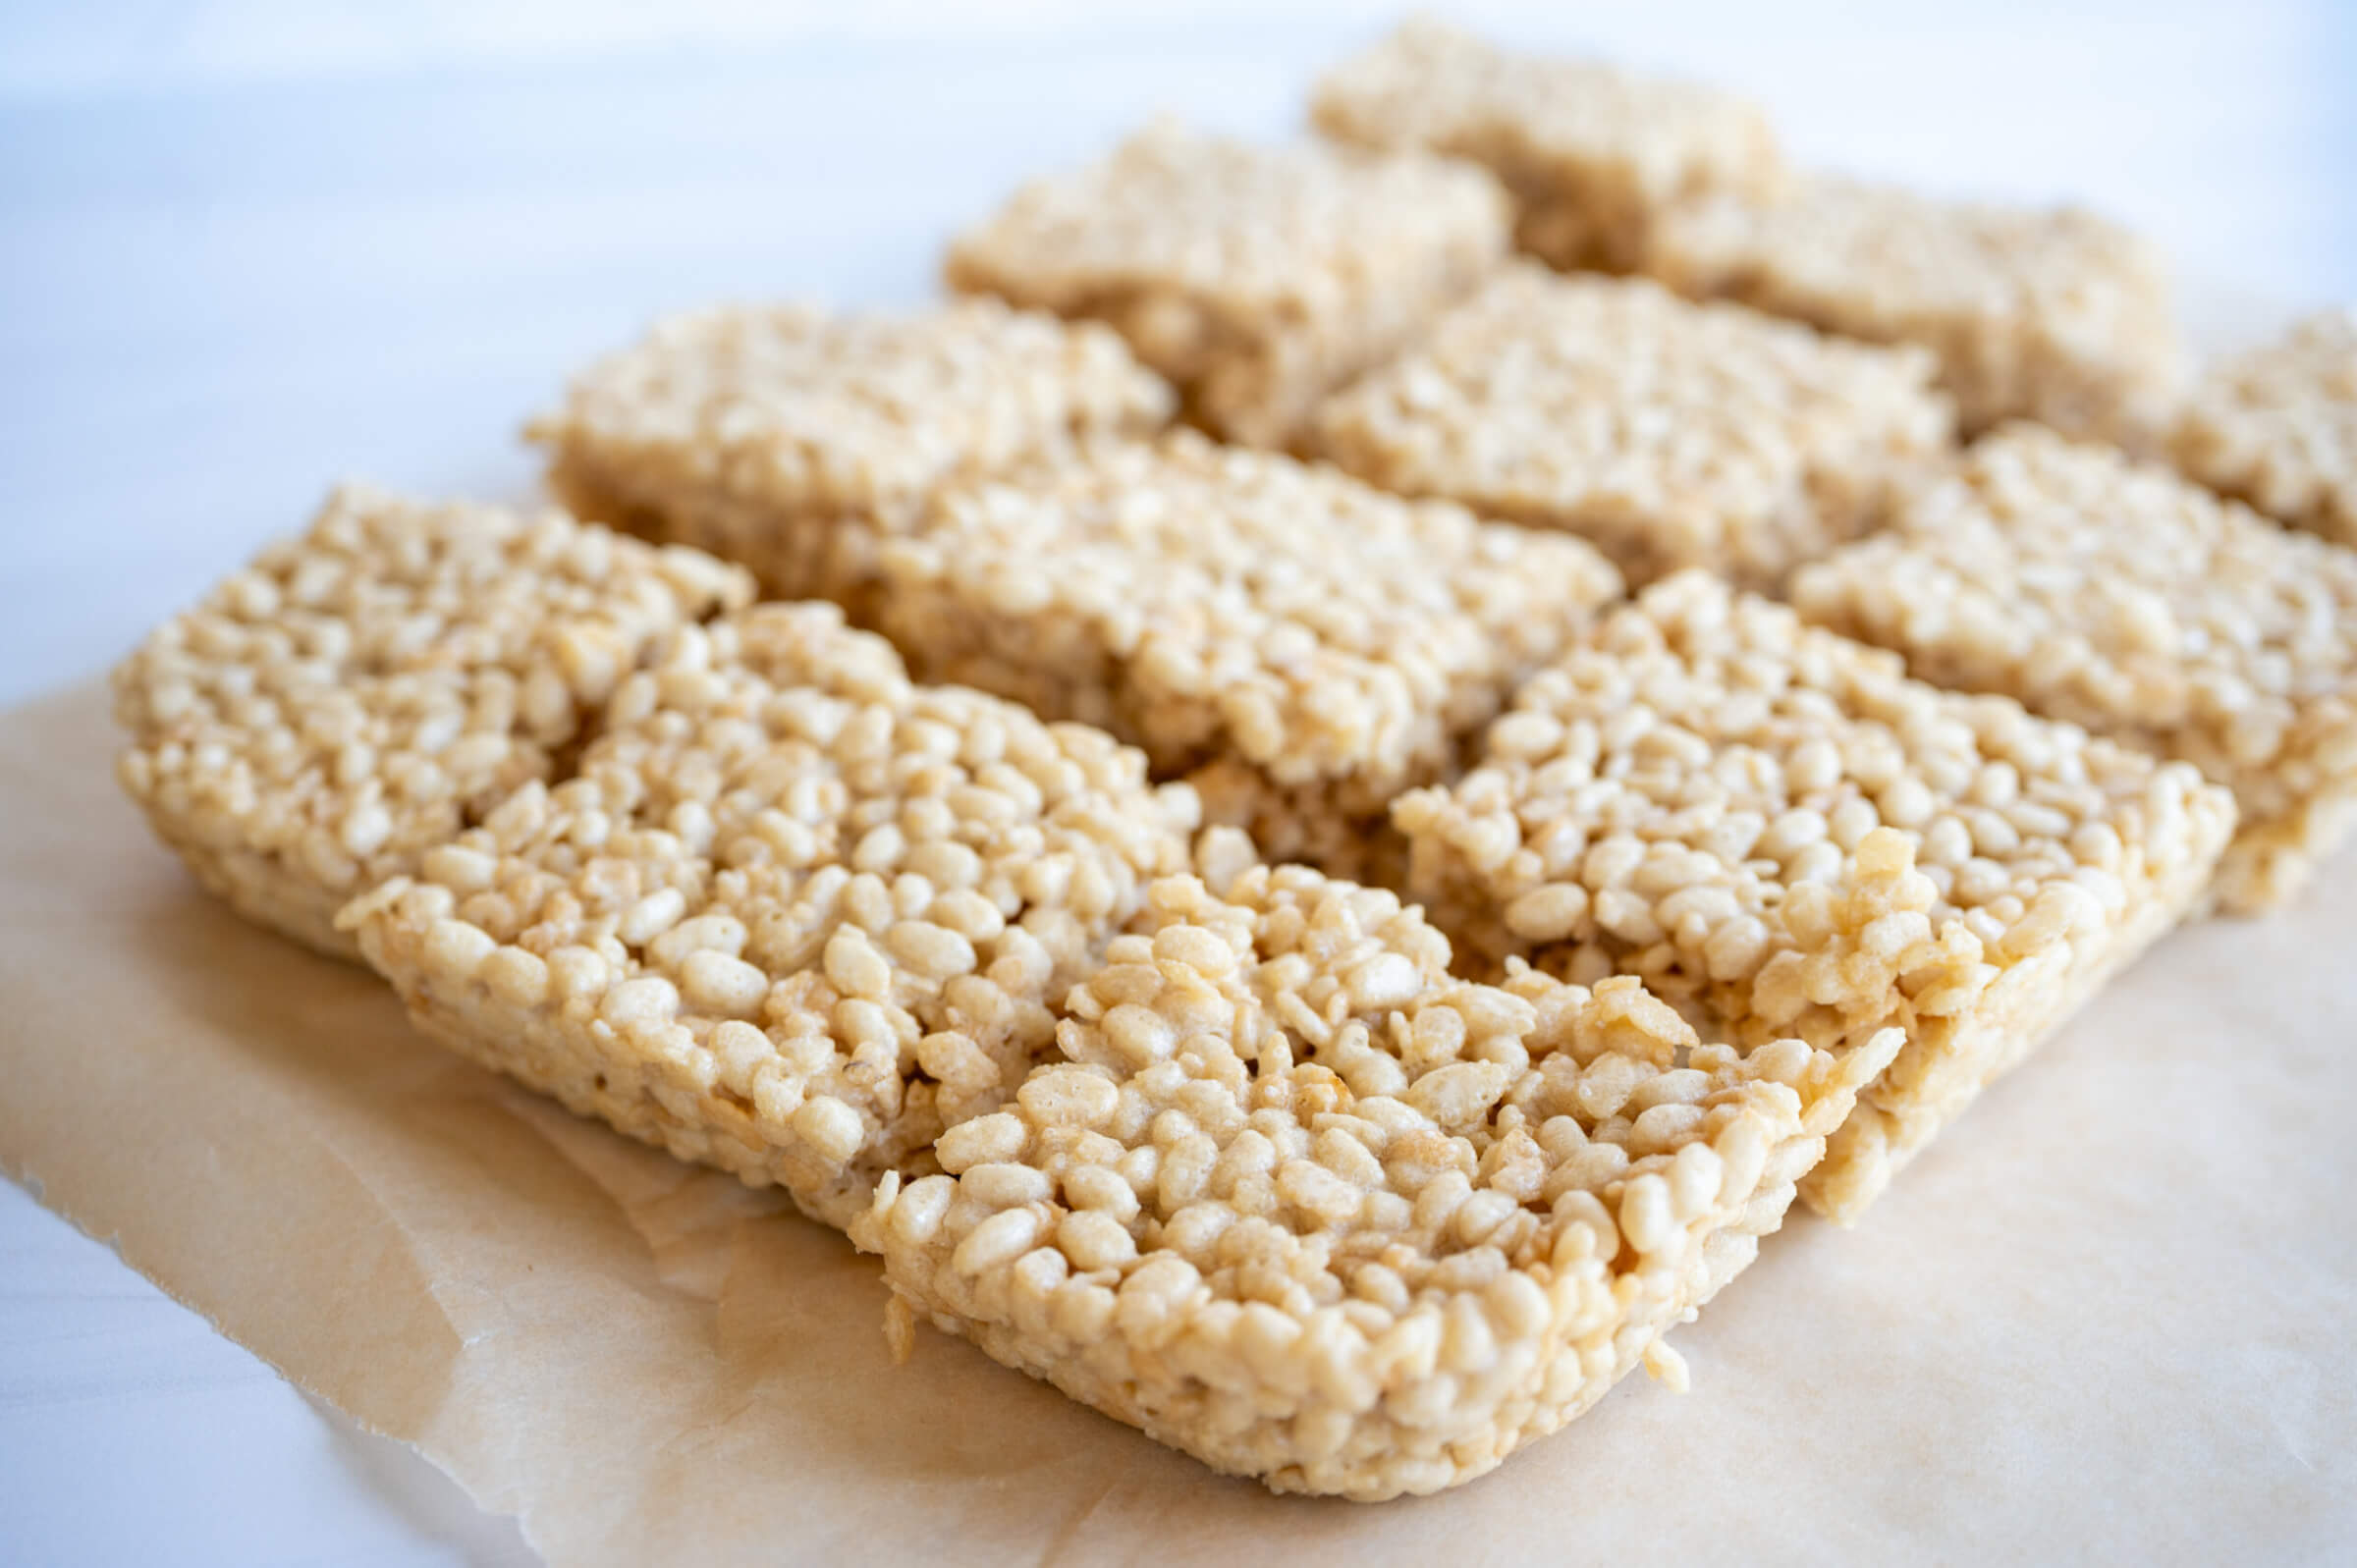
rice krispie treats recipe

Rice Krispie Treats Recipe (With Homemade Marshmallow)

There’s something just so nostalgic about biting into a gooey Rice Krispie treat. And while I remember them from my childhood, they’re not something that I’ve had in many years. Until now that is. This homemade, healthy Rice Krispie treat recipe is a new favorite in our house. 

The Rice Krispie treats from the store are usually a little hard and not so fresh tasting. You’ll find ingredients like corn syrup, GMO soybean oil, artificial flavors, and acetylated monoglycerides… whatever that is. And many of the homemade Rice Krispies treats, while they taste good, aren’t much healthier. 

An Upgraded Rice Krispies Treat Recipe 

One of the questions I get all the time is how to use my homemade marshmallows recipe to make Rice Krispie treats. And honestly that’s not something I’d ever tried. For years my family avoided grains as I was in a healing phase. Now that grains are back in my diet on occasion, that means I’ve been experimenting with more grain-based recipes. 

Of course, this doesn’t mean I’m eating glyphosate covered, artificially fortified white flour all the time. It’s about balance, but I still choose healthier options when I can. So for this recipe that means the name brand (or store brand) rice crispy cereal is out. Instead I used sprouted brown rice cereal. 

Yes, it’s still cereal and not as nutritious as a grass-fed steak, but I’m ok with it for the occasional treat. Sprouted grains are easier for our body to digest. This cereal is organic, non-GMO, and sweetened with just a touch of coconut sugar. I’ve linked to the kind I used in the recipe below, but you can also use organic rice cereal from your local store if that’s all they have. 

Homemade Marshmallows

My marshmallow recipe base is sweetened with honey instead of sugar. They feature gut healthy, grass-fed gelatin and real marshmallow root for more gut soothing benefits. I’ve experimented over the years with variations like elderberry, matcha, and even hibiscus rose marshmallows. 

The marshmallow portion of the Rice Krispie treats recipe is very similar, but you don’t have to press them into a pan and let them set first. After whipping up the marshmallow mixture, simply add it to melted butter and stir in the cereal. 

Homemade Rice Krispie Treat Variations

The kids and I love this recipe as is. In fact, the first time I made a batch the kids devoured them within minutes! However, you can also add some ingredients if you want a different flavor. 

Try sprinkling some flaky sea salt on the top for a salty, sweet treat. Or drizzle the top with melted dark chocolate (and then sprinkle with salt!). Sometimes I’ll gently press mini chocolate chips onto the top before they’ve really hardened. Work quickly with this one though or you’ll just end up with melted chocolate all over your hand! I haven’t tried it here, but some people like adding ¼ cup of creamy peanut butter when stirring in the marshmallows to the butter. 

For another depth of flavor, try browning the butter first before adding the marshmallows. It gives it a caramel-like taste! I give more details on how to brown butter in this pistachio chocolate chunk cookie recipe. 

Here’s how to make healthier, naturally sweetened rice treats with homemade marshmallow!

Rice Krispie Treats Recipe (With Homemade Marshmallow)

This healthier, naturally sweetened version of rice krispie treats is a kid (and parent!) favorite.

Homemade Marshmallow Base

  • Line a 9×13-inch baking dish with parchment paper and set aside.

  • Pour ½ cup of the cold water into the bowl of a stand mixer. Sprinkle the gelatin evenly over the water and let it sit while you prepare the honey syrup.

  • In a small saucepan, combine the remaining ½ cup of water, honey, and sea salt.

  • Bring the mixture to a gentle boil over medium heat. Simmer for 7-8 minutes, until slightly thickened.

  • Turn the mixer on low speed. Carefully and slowrly pour the hot honey syrup into the gelatin mixture.

  • Gradually increase the mixer speed to high. Whip for 8-10 minutes, until thick, glossy, fluffy, and marshmallow-like. Add the vanilla extract during the last minute of mixing.

  • While the marshmallow is whipping, melt the butter in a large pot over low heat.

  • Add the whipped marshmallow mixture to the melted butter and stir until combined.

  • Fold in the crispy rice cereal until evenly coated.

  • Transfer the mixture to the prepared baking dish. Using lightly buttered hands or a piece of parchment paper, gently press into an even layer.

  • Sprinkle with flaky sea salt if desired. Let cool for about 30 minutes before slicing into squares and serving.

Nutrition Facts

Rice Krispie Treats Recipe (With Homemade Marshmallow)

Amount Per Serving (1 square)

Calories 135
Calories from Fat 27

% Daily Value*

Fat 3g5%

Saturated Fat 2g13%

Trans Fat 0.1g

Polyunsaturated Fat 0.2g

Monounsaturated Fat 1g

Cholesterol 8mg3%

Sodium 118mg5%

Potassium 26mg1%

Carbohydrates 26g9%

Fiber 0.1g0%

Sugar 18g20%

Protein 2g4%

Vitamin A 786IU16%

Vitamin C 7mg8%

Calcium 4mg0%

Iron 3mg17%

* Percent Daily Values are based on a 2000 calorie diet.

  • The optional flaky sea salt turns this into an amazing salty sweet treat. 
  • Try drizzling the top with some melted dark chocolate for a more decadent dessert.

How to Store Homemade Rice Krispie Treats

Homemade Rice Krispie treats store best at room temperature. Keep them in an airtight container and enjoy within 4-5 days. However, if your house is like mine, they won’t last long!

What are your favorite Rice Krispie treat flavors? Ever made them before? Leave a comment and share below!
Tags: , , , , ,
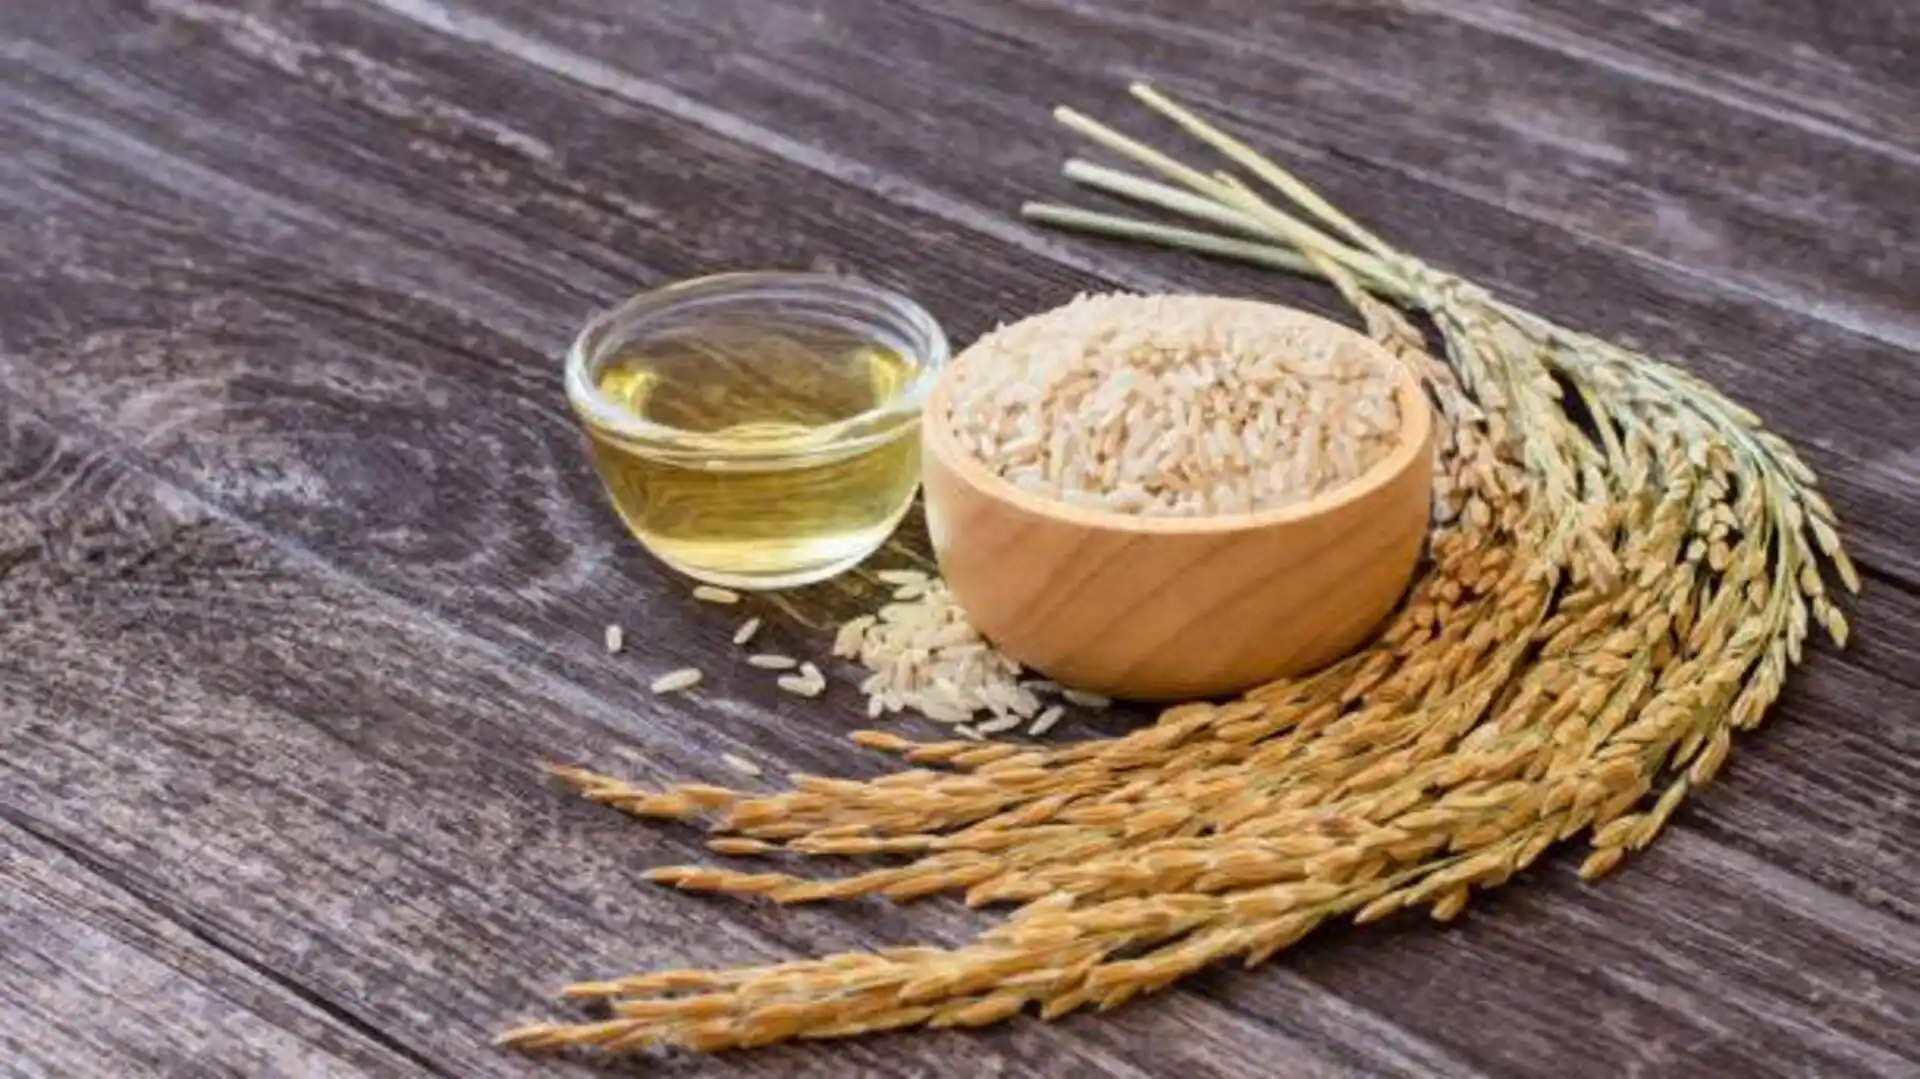
Why skincare enthusiasts are loving rice bran

Why skincare enthusiasts are loving rice bran

Rice bran is loaded with antioxidants

What’s the story

African rice bran is making waves in the skincare world for its natural benefits.
Extracted from the outer layer of rice grains, this ingredient is packed with antioxidants and nutrients that can help you achieve smoother skin.
Used in traditional African skincare routines for centuries, it is now gaining popularity globally.
Here is how you can use African rice bran to improve your skincare routine.

Rich in antioxidants

African rice bran is loaded with antioxidants, such as vitamin E and ferulic acid.
These antioxidants help fight free radicals that cause skin aging and damage.
By adding products with African rice bran into your routine, you can protect your skin from environmental stressors and keep it looking youthful.
Regular use may also help reduce the appearance of fine lines and wrinkles.

Natural exfoliant properties

The gentle exfoliating properties of African rice bran make it an ideal ingredient for removing dead skin cells without irritating the skin.
Its natural grit helps slough off impurities, revealing a smoother complexion underneath.
Using scrubs or masks with this ingredient can improve skin texture over time, making it feel softer and more refined.

Moisture retention benefits

African rice bran is known for its ability to retain moisture in the skin. It forms a protective barrier that prevents water loss, keeping your skin hydrated throughout the day.
This is especially beneficial for those with dry or sensitive skin types who need extra hydration support.
Incorporating products with this ingredient can lead to visibly plumper and more elastic skin.

Soothing anti-inflammatory effects

Thanks to its anti-inflammatory properties, African rice bran is a great choice for those with irritated or inflamed skin conditions, such as eczema or rosacea.
It calms redness and irritation while promoting overall skin health.
Using it regularly can bring about a noticeable reduction in inflammation-related symptoms, giving you a calmer complexion.

Tags: , , , ,
DIY rice flour face mask for glowing skin

DIY rice flour face mask for glowing skin

Rice flour is a simple kitchen ingredient that gently exfoliates, controls oil, and supports clearer skin. Ayurveda expert explains how to use it safely for a natural, healthy glow.

Natural skincare does not always need fancy products or long routines. Sometimes, the most effective solutions are already sitting in your kitchen. Rice flour is one such ingredient that has been used for centuries in Asian beauty rituals for maintaining smooth, clear, and glowing skin. Made from finely milled white or brown rice, it is gentle, affordable, and suitable for most skin types.

As per Ayurveda expert Dimple Jangda, rice flour works as a natural exfoliant. It removes dead skin cells while absorbing excess oil without stripping the skin of moisture. Backed by traditional use, rice flour can support brighter skin, better texture, and a balanced complexion when used correctly. Let us understand why this humble ingredient works and how to include it in your skincare routine.

What makes rice flour good for skin?

Rice flour has a mildly coarse texture that helps lift dead skin cells gently. A study published in the Advances in Social Science, Education, and Humanities Research Journal found that rice-based formulations can improve skin texture and support a more even tone. Jangda says its natural enzymes also help with dullness and mild pigmentation over time.

1. Controls excess oil without drying the skin

If you struggle with oily or acne-prone skin, rice flour can be helpful. It absorbs excess sebum and helps tighten enlarged pores, making the skin feel fresh and balanced. Unlike harsh cleansers, it does not damage the skin barrier, which is important for preventing breakouts.

2. Soothes sensitive and irritated skin

Rice flour has natural anti-inflammatory properties that help calm redness and irritation. This makes it suitable for sensitive skin when used in mild combinations like yoghurt or honey. Jangda often recommends it as a gentler alternative to chemical exfoliants.

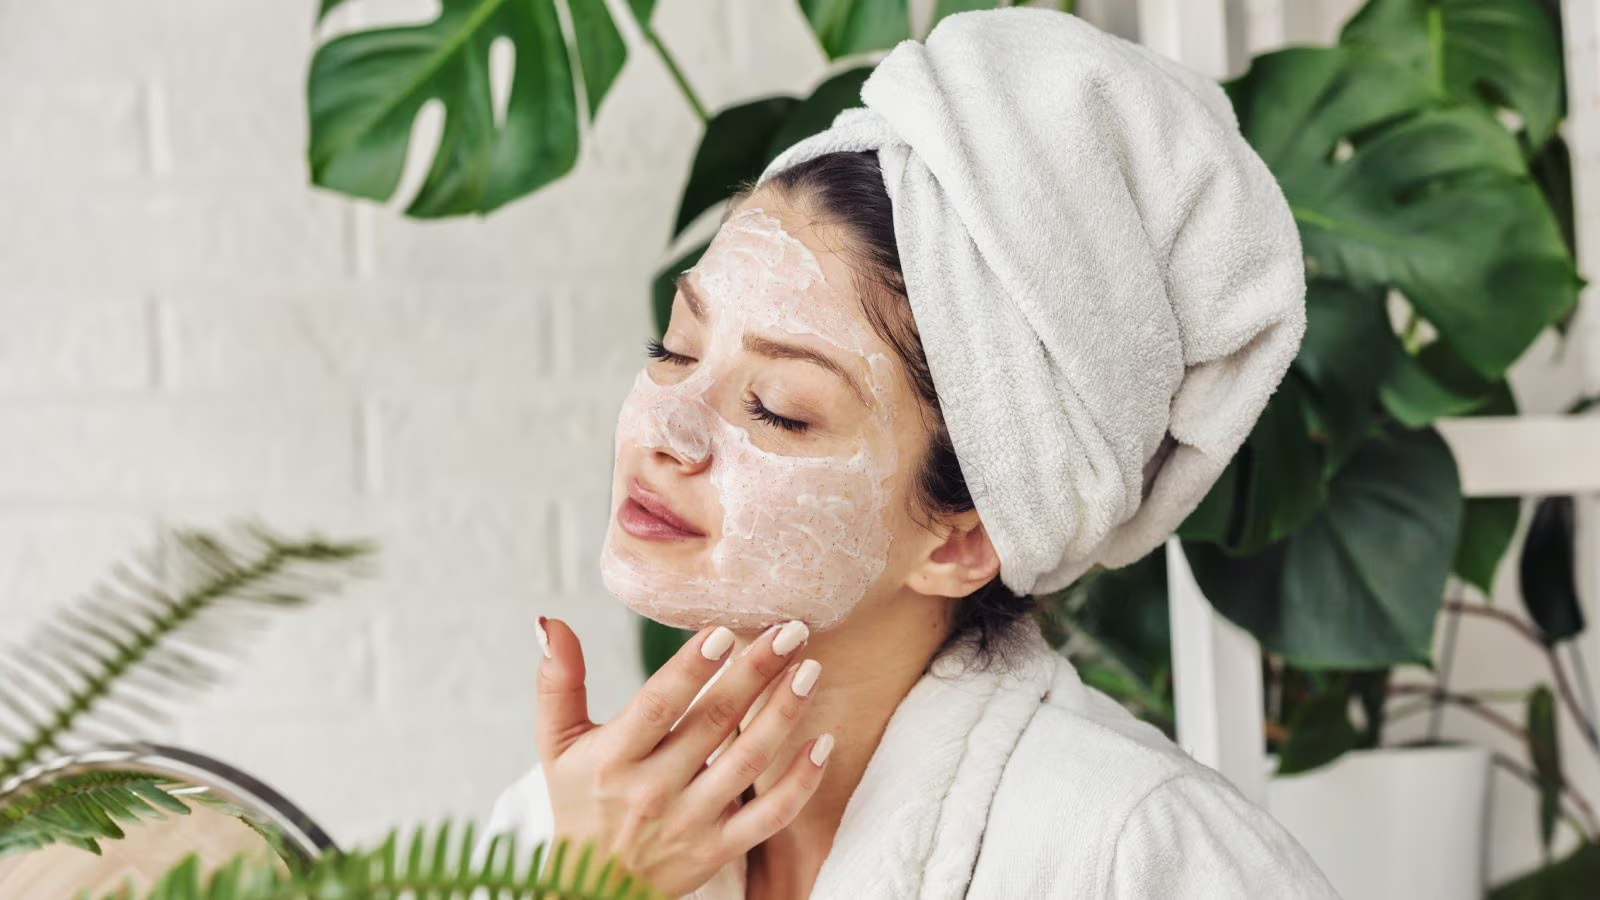
This DIY face mask can help you get rid of dull skin. Picture Courtesy: Adobe Stock

3. Helps protect against early ageing

Rice flour contains antioxidants such as vitamin E, which help fight free radicals caused by pollution and sun exposure. These antioxidants support skin elasticity and reduce the appearance of fine lines, giving skin a healthier, more youthful look with regular use.

How to use rice flour for skin?

1. For gentle exfoliation: Mix 2 tbsp rice flour with 1 tbsp honey. Massage gently on the face, leave for 10–15 minutes, and rinse with cool water.

2. For sensitive skin: Mix 2 tbsp rice flour with 1 tbsp plain yoghurt. Apply evenly, leave for 10 minutes, then wash off.

3. For oily skin: Combine 2 tbsp rice flour, 2 tbsp multani mitti, and rose water to form a paste. Leave on for 5–10 minutes and rinse.

4. For natural glow: Mix 2 tbsp rice flour with a pinch of turmeric and milk or yoghurt. Apply, leave for 10–15 minutes, and wash off.

5. For dry skin: Mix 1 tbsp rice flour with 1 tbsp honey and ¼ mashed avocado. Apply, leave for 10–15 minutes, then rinse.

You may also like

Jangda highlights that consistency and gentle application matter more than overuse. Always do a patch test, and pair topical care with healthy habits for best results.

Tags: , , , , , ,
Best oLive
Privacy Overview

This website uses cookies so that we can provide you with the best user experience possible. Cookie information is stored in your browser and performs functions such as recognising you when you return to our website and helping our team to understand which sections of the website you find most interesting and useful.
