


Can skincare fix the face of burnout?
The newest beauty goal is to fix the cortisol face, manage barrier repair and look less tired with a range of tools, products and treatments …
Category:

The newest beauty goal is to fix the cortisol face, manage barrier repair and look less tired with a range of tools, products and treatments …
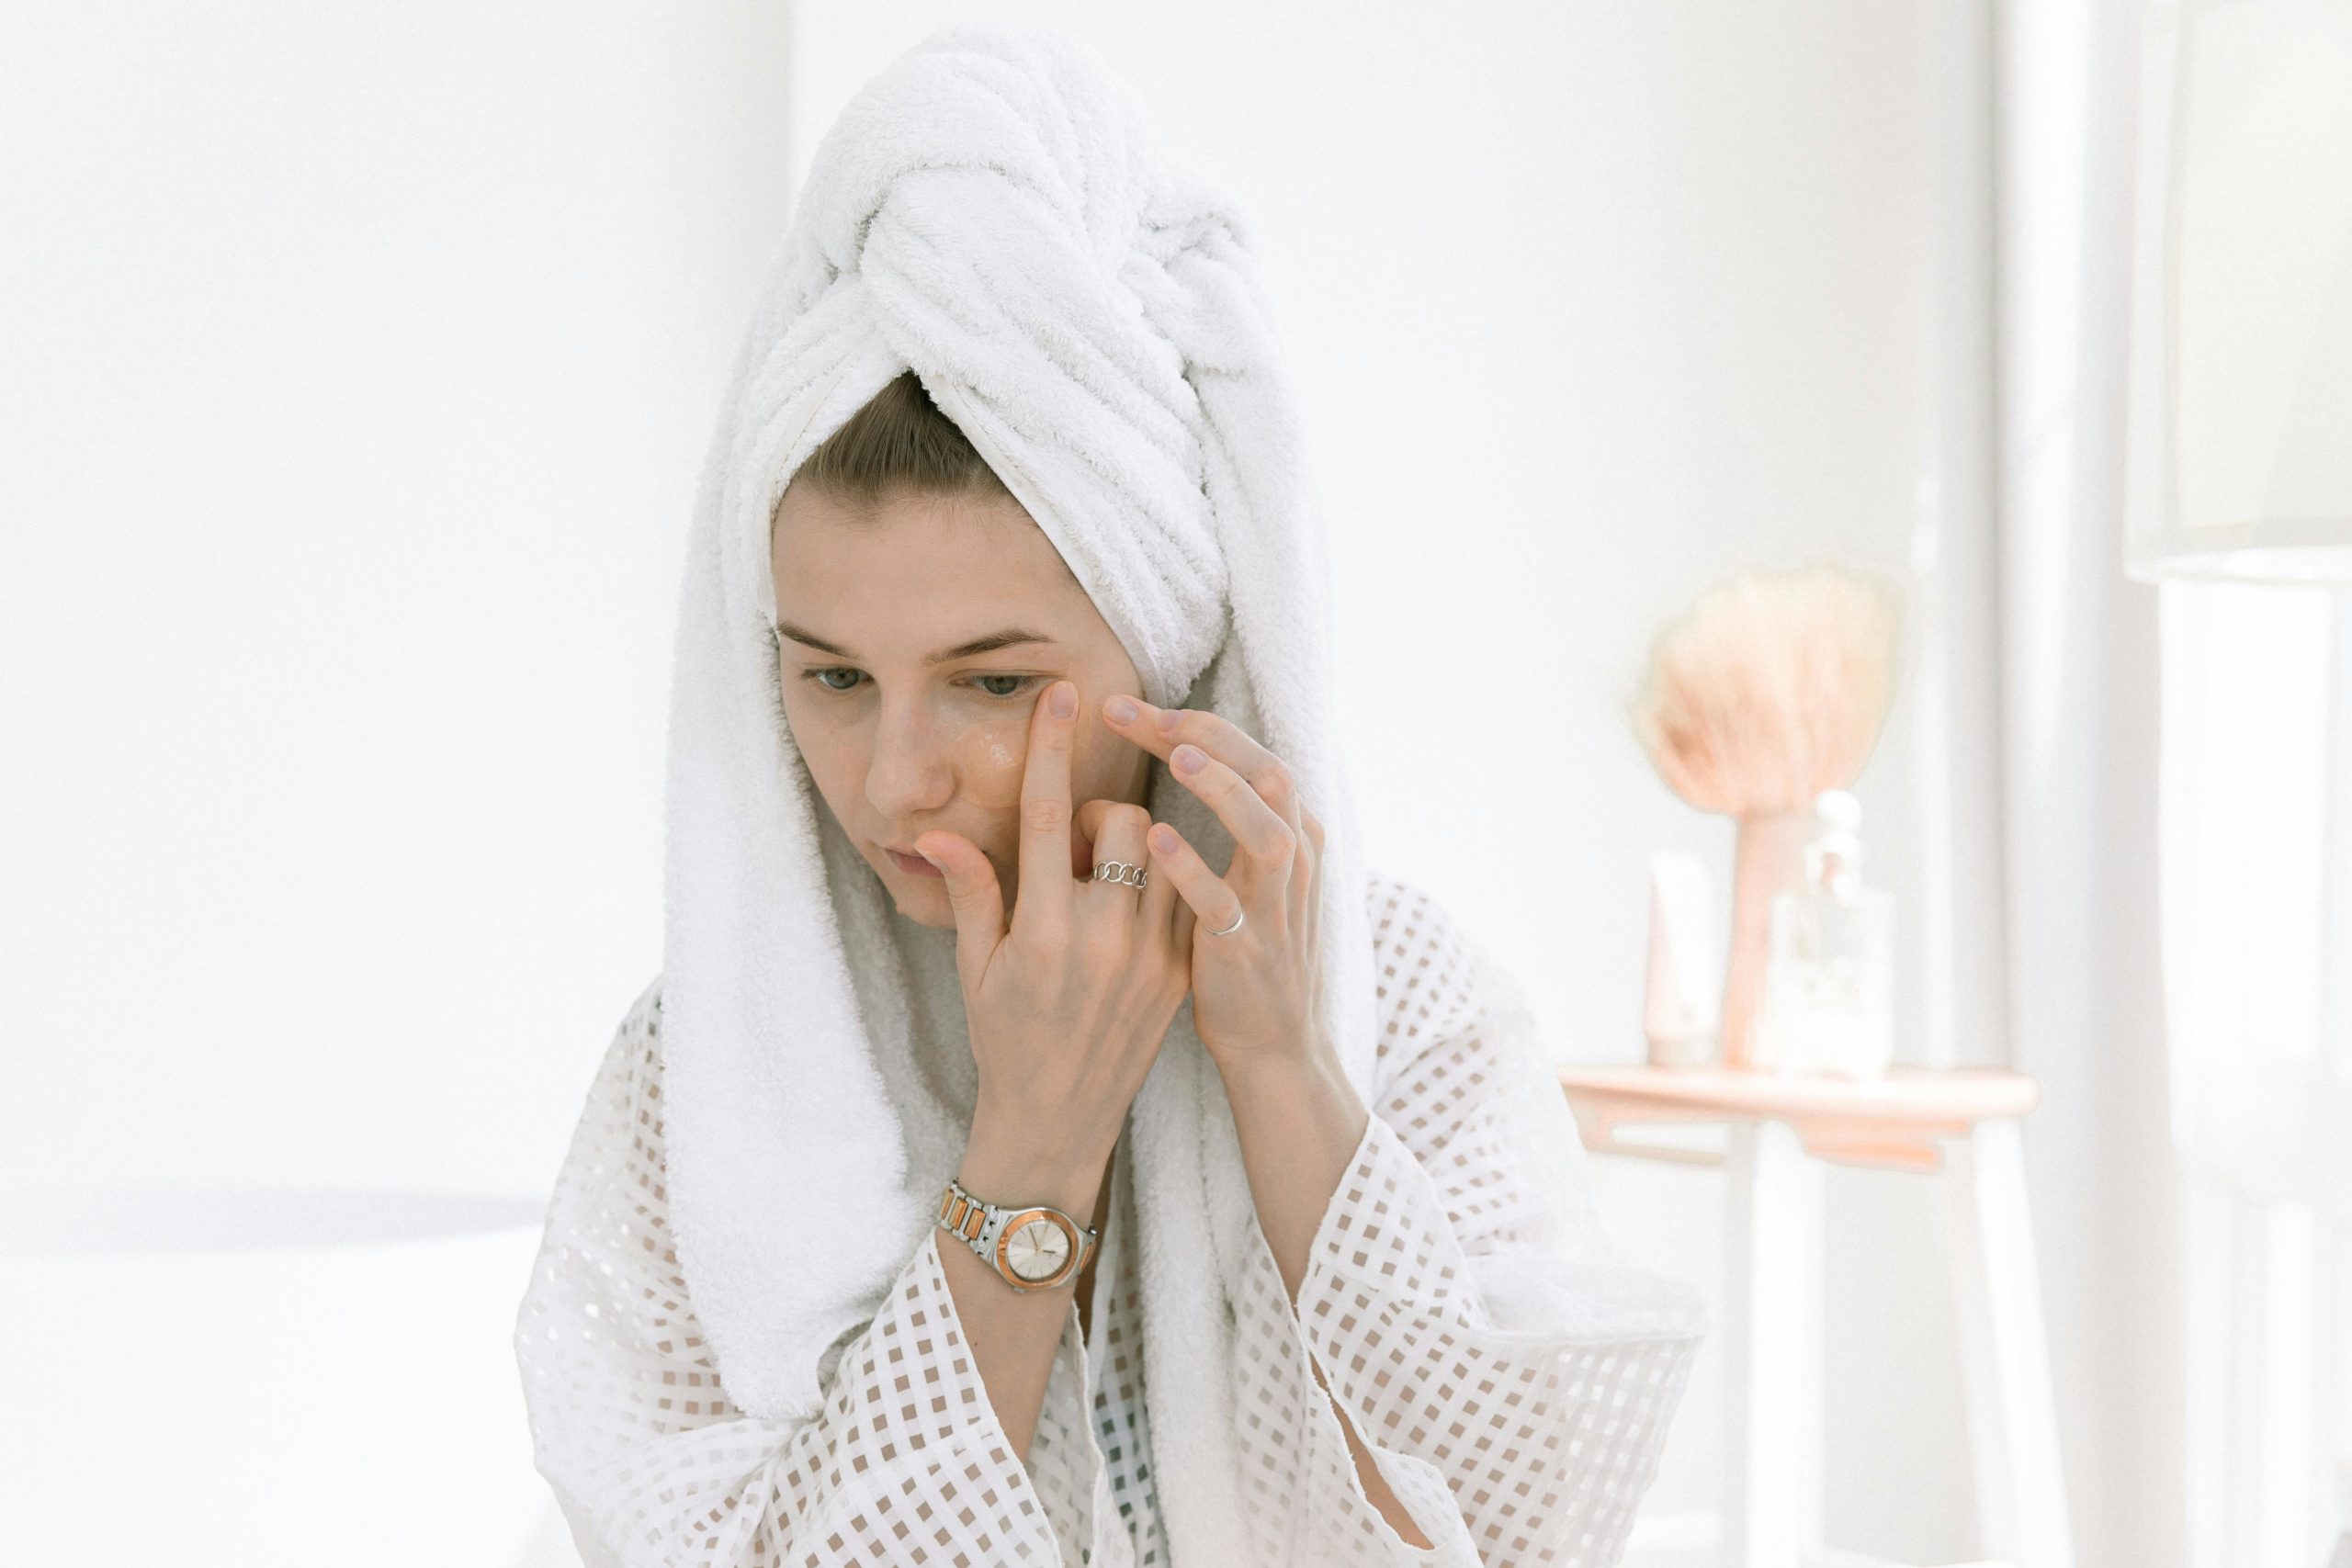
As we age, our skin’s needs change. So our skincare should, too. If you find yourself side-eyeing your usual skincare products because they don’t seem to be working anymore, here’s why it’s happening. Also find out how to adjust your routine to suit your skin’s changing needs.
ALSO SEE: Barrier-repair skincare ingredients every woman should know
You may have noticed that your favourite skincare products don’t work quite the way they used to. This isn’t because the product has suddenly become ineffective but because the skin’s needs have changed.
Skin often begins to behave differently in the mid-30s and again when a woman enters perimenopause. At this stage, hormonal and structural changes affect how the skin responds to ingredients. But the good news is that a few tweaks to your routines can make a huge difference.
As we age, the skin’s natural cell turnover slows. Dead skin cells build up more easily, leaving skin looking dull and less responsive to active ingredients.
At the same time, collagen and elastin production declines. This leads to reduced firmness and elasticity, which topical creams can’t really fix. The skin also produces less oil, making it drier and weakening the skin barrier. For many women, this barrier starts to decline in the mid-30s.
Hormonal changes during perimenopause accelerate these shifts. A drop in oestrogen contribute to a rapid decline in collagen production, while fluctuating androgen levels can lead to adult acne, dryness or sensitivity. As a result, products that once worked well – even a favourite moisturiser – may suddenly seem less effective.
Lifestyle plays a role. High sugar intake, poor sleep and lack of sunscreen can impact how skincare performs. Using formulas that no longer suit your skin type and age also cause irritation and reduce results.
Your skin barrier protects against pollutants and locks in moisture. Support it with a gentle cleanser and a barrier-support ingredients like ceramides. Avoid exfoliants and retinoids until irritation settles.
Hydrating creams and serums can replenish the lipids your skin loses with age.
If your routine has hit a plateau, ingredients such as antioxidants or retinoids can help – but only once the skin barrier is healthy.
For deeper structural concerns, treatments such as microneedling and other non-invasive procedures may offer results topical products cannot.
Skincare needs evolve with age. By understanding them and adapting your routine, you can continue to support and enjoy healthy, glowing skin.
ALSO SEE:
These are the skincare ingredients you should never combine
Featured image: Pexels
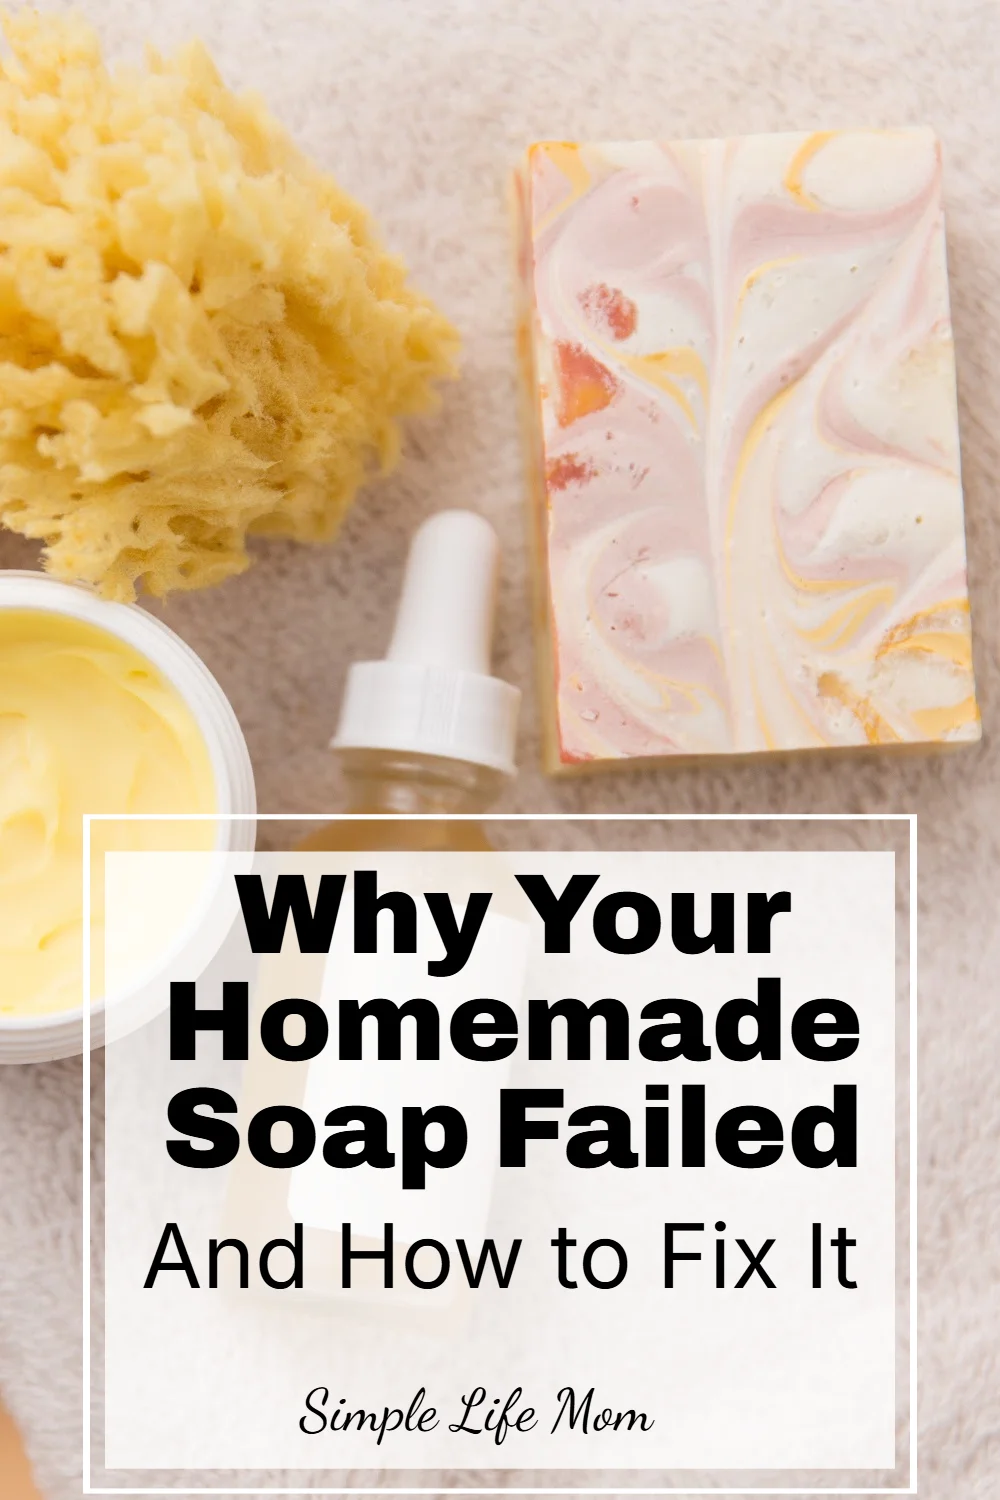
Making homemade soap is such a beautiful, simple skill to learn—but if you’ve ever had a batch go wrong, you know how discouraging it can feel. One minute everything looks perfect, and the next you’re in the middle of soap making troubleshooting because your soap is thickening too fast, cracked, crumbling, or just… wrong.
Here’s the good news: every soap maker has been there. Every mistake is part of the learning process, and most problems are completely fixable—or preventable next time.
This guide will walk you through the most common soap making problems, why they happen, and how to fix them using simple, practical, real-life solutions to get you on the right path.
After all, learning homemaking skills like soap making isn’t just about the end product—it’s about stewardship, patience, and building something meaningful for your home and family. Mistakes are part of learning, and every imperfect batch is still a step toward wisdom, confidence, and self-sufficiency.
Good soap making starts with great techniques and great recipes. Make sure to read my articles on both so you start with great quality.
Here are my most common questions with rapid answers up front!
Can failed soap be saved?
Yes! Most failed soap can be re-batched or hand-milled (melted and remolded). Learn how here.
What does seizing mean in soap making?
Seizing is when soap batter thickens suddenly due to high temperatures, using fragrance oils, using hot essential oils like cinnamon and clove, or over-mixing. Change to essential oils and soap at cooler temperatures.
Why does my soap get a white powder on top?
That’s soda ash. It’s harmless and can be rinsed or gently shaved off.
Why are lye pockets in my soap after curing?
If you have liquid pockets that give you that slick feeling on your fingers when you feel it, you know it’s lye. You didn’t mix enough and then poured too cool. The oils and lye water didn’t emulsify and separated, not fully saponifying. But don’t worry. As long as you know that you used the right ingredient amounts, you can hand-mill (re-batch) the soap. Learn how here.
So, lets dive into the meat of each topic to make sure you minimize problems in the future, or at least know what to do when they happen.
What it looks like: Soap batter suddenly turns thick, grainy, and chunky, like lumpy mashed potatoes.
Common causes:
Simple fix:
How to prevent it next time:
What it looks like: Oil pooling, watery layers, or curdled soap batter.
Common causes:
Simple fix:
How to prevent it next time:
What it looks like: When unmolding the soap, your hand may leave fingerprints, or the soap is extremely soft or even fully liquid.
Common causes:
Simple fix:
How to prevent it next time:
What it looks like: It looks like a crack in a river bed and the soap is a lot darker than usual. When soap overheats it darkens and cracks, as if it is boiling beneath the surface and heat has to escape somehow.
Common causes:
Simple fix:
How to prevent it next time:
What it looks like: Soap is one color when it’s molded, but another when you unmold it. Turmeric is yellow but turns tan. Alkanet root is purple, turns blue, then turns purple again. Beet root is a beautiful pink but turns brown when added to soap.
Common causes:
Simple fix:
How to prevent it next time:
What it looks like: There will be little beads of “sweat” all over the soap as it’s curing. Sometimes it’s enough that there is a pool of liquid under the soap where it sits.
Common causes:
Simple fix:
How to prevent it next time:
What it looks like: There may be tiny bubbles, but no big lather like you wanted.
Common causes:
Simple fix:
How to prevent it next time:
What it looks like: When you take your soap out of the mold and cut it, there are air pockets or tunnels running through your soap.
Common causes:
Simple fix:
How to prevent it next time:
What it looks like: The soap is white and chalky and crumbles in your hand. It also may be chalky only on the corners of the mold but solid in the center.
Common causes:
Simple fix:
How to prevent it next time:
What it smells like: There’s a dusty scent. Something is off.
Common causes:
Simple fix:
How to prevent it next time:
Soap making isn’t about perfection; it’s about learning, growing, and building a simple, natural skill for your home or small business. Every batch teaches you something new, and even the mistakes have value.
Save this guide, come back to it when something goes wrong, and remember: you’re learning a real homestead skill, and that takes time.
If you have a question that wasn’t answered, ask it here.
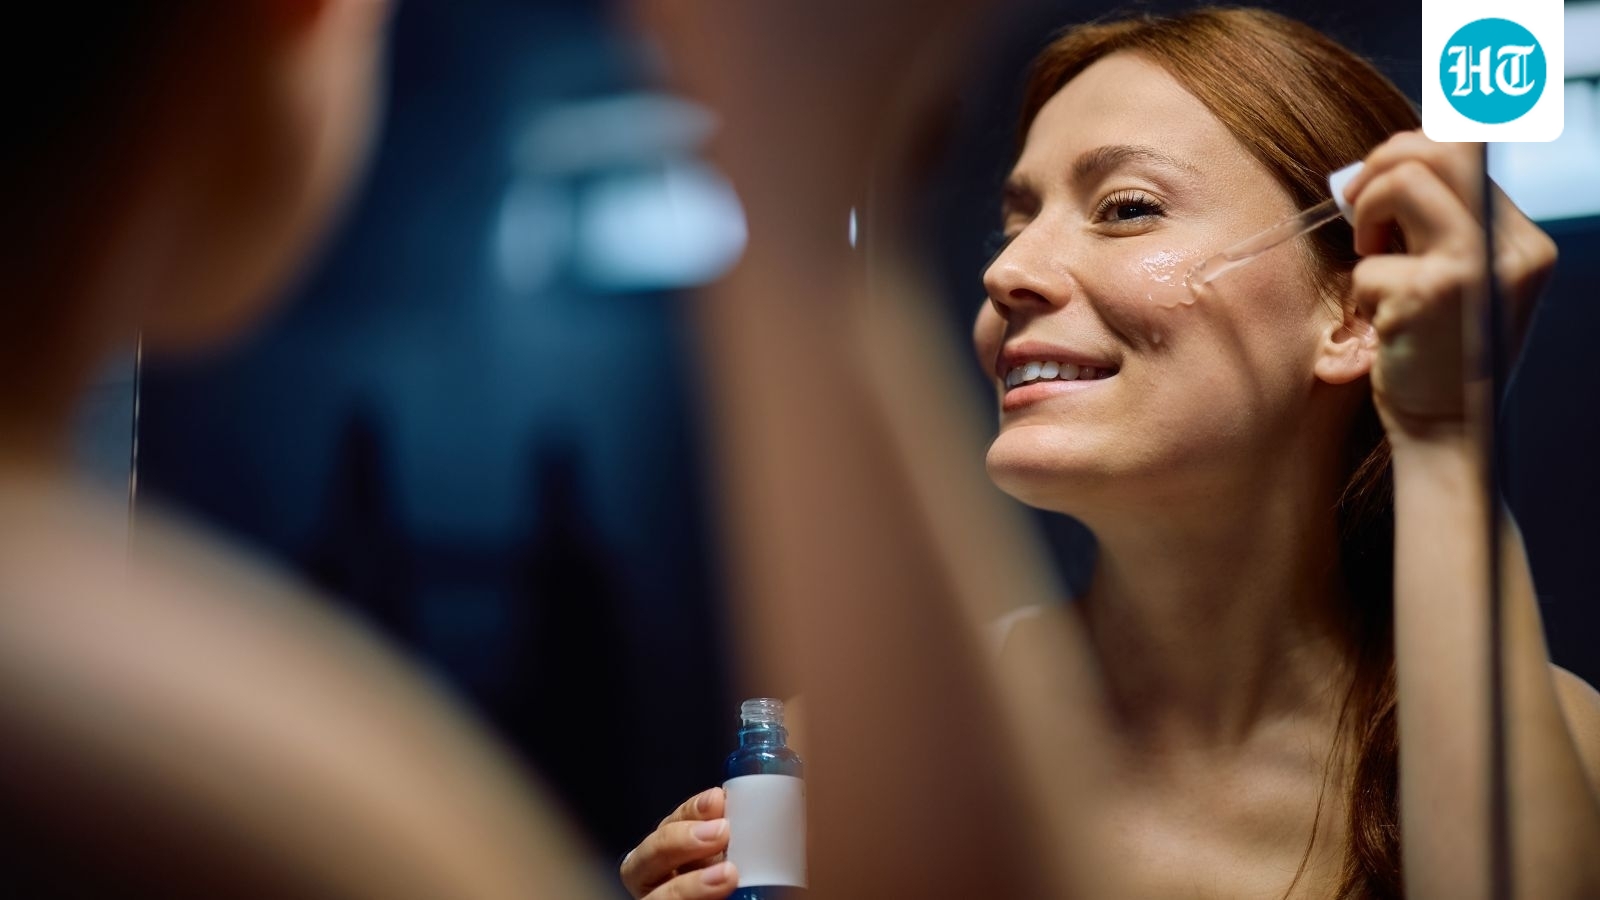
You know that feeling when no matter how many creams or serums you try, your skin still looks tired, uneven, or shows early signs of ageing? That’s where Retinol comes in, dermatology’s “gold standard” ingredient. A derivative of vitamin A, Retinol is extensively researched and trusted by skin experts for its ability to repair and rejuvenate deeply. Once applied, it converts into retinoic acid in the dermis, working at the cellular level to smooth texture, fade dark spots, and boost collagen production. We spoke with Dr Ridhima Arora, MBBS, MD (Dermatology & VD), Malik Radix Healthcare Pvt. Ltd, and she shared with HealthShots that what makes Retinol truly special is its versatility; it tackles multiple skin concerns simultaneously, from fine lines and uneven tone to stubborn pigmentation. She also emphasised that the best results are achieved when you introduce it gradually, use it correctly, and always pair it with sunscreen. Following these steps makes Retinol safe, effective, and transformative.
Retinol: Transform your skin with dermatologist-backed daily care.(Adobe )
In this article, we break down everything Dr Arora shared with HealthShots about Retinol, how to use it safely, effectively, and consistently, so you can finally see a fundamental transformation in your skin. Think of it as your dermatologist-backed roadmap to healthier, younger-looking skin without guesswork or trial-and-error. With the proper guidance, Retinol isn’t intimidating; it’s empowering.
We selected these retinol serums based on Amazon’s highest ratings, overall customer reviews, and consistent feedback on results.
Targeting blemish-prone skin, this CeraVe Resurfacing Retinol Serum combines Retinol, Niacinamide, and Licorice Root Extract to visibly reduce post-acne marks, refine pores, and restore a smoother, even-toned complexion. Lightweight and non-comedogenic, it works without clogging pores or causing irritation. Ideal for those struggling with breakouts, uneven texture, or dark spots, it can be incorporated into your nightly skincare routine for healthier, rejuvenated skin.
Start your night routine with Minimalist Anti-Ageing Night Serum, featuring 0.3% Retinol and CoQ10 to reduce fine lines and wrinkles. Its water-free formula ensures ingredient stability and deeper nourishment, making it ideal for beginners. Suitable for all skin types, this unisex serum works overnight to smooth texture, boost collagen, and rejuvenate skin. Apply nightly after cleansing for firmer, youthful-looking skin and a refreshed morning glow.
Wake up to smoother, revitalised skin with Olay Regenerist Retinol 24 Night Serum. This fragrance-free formula works overnight to reduce fine lines, resurface the skin’s texture, and restore radiance without irritation, making it suitable for all skin types, including standard, oily, dry, and combination skin. Infused with potent retinol, it supports your skin’s natural renewal process, helping maintain a healthy, youthful glow. It’s a simple addition to your nightly skincare routine for visible results.
Tired of dull, ageing skin? Plum 1% Retinol Advanced Anti-Ageing Night Face Serum combines 1% Retinol with Bakuchiol to enhance collagen production, minimise fine lines, and smooth wrinkles. Lightweight and fast-absorbing, it works overnight to renew skin texture. Suitable for all skin types, this serum is loved by Amazon users for its practical and gentle results, making it a key step in your nightly skincare routine.
Want clearer, healthier skin without complicated routines? The Derma Co 0.3% Retinol Serum can be your daily game-changer. Designed to reduce fine lines, wrinkles, and dark spots, it gently renews your skin while keeping it nourished. Lightweight and fast-absorbing, it seamlessly integrates into your routine, helping you achieve smoother, brighter, and more youthful-looking skin so that you can feel confident every day.
Looking for a premium retinol serum that actually delivers? La Roche-Posay 0.3% Retinol Vitamin B3 Serum combines retinol with soothing Vitamin B3 to reduce fine lines, smooth texture, and brighten skin. Lightweight and gentle, it’s perfect for nightly use, helping you achieve a refreshed, youthful glow. Users love how effective yet non-irritating it feels on all skin types.
If you want something for a gentle anti‑ageing boost? The Deconstruct 0.2% Retinol Face Serum combines mild retinol with 1% peptides to smooth fine lines and support skin renewal. Its beginner‑friendly formula is ideal for both men and women starting retinol. Apply a few drops to cleansed skin at night, avoiding the eye area, and follow with a moisturiser. Perfect for sensitive or starter routines, helping you age confidently.
Want a gentle yet effective start with retinol? Foxtale 0.15% Beginner-Friendly Retinol Night Serum minimises fine lines and wrinkles without causing purging. Its mild, low-concentration formula makes it perfect for all skin types, including sensitive skin. Apply a few drops at night to a cleansed face and follow with moisturiser. A gentle starter serum that promotes smoother, younger-looking skin safely.
This approach ensures maximum benefit while keeping your skin safe and healthy.
Shop 8 top-selling anti dandruff shampoos for clear and healthy scalp
Looking for a hydrating face wash for dry skin? 8 top-rated winter must-haves you can try
Disclaimer: The products listed are not suggested, endorsed, or promoted by any dermatologist. They have been selected solely based on Amazon ratings, user reviews, and overall feedback to help you make an informed choice. Always consult a qualified skincare professional before incorporating new products into your routine to ensure they suit your skin type and needs.
Retinol is a Vitamin A derivative that boosts collagen, smooths fine lines, evens skin tone, and improves texture.
Start 2–3 nights a week with a low concentration (0.1–0.3%) and gradually increase based on tolerance.
Avoid strong acids (AHAs/BHAs) and Vitamin C when using Retinol to prevent irritation.
Consistent use for 12–16 weeks is typically required to notice smoother, brighter, and healthier-looking skin.
Disclaimer: At Hindustan Times, we help you stay up-to-date with the latest trends and products. Hindustan Times has an affiliate partnership, so we may get a part of the revenue when you make a purchase. We shall not be liable for any claim under applicable laws, including but not limited to the Consumer Protection Act, 2019, concerning the products. The products listed in this article are in no particular order of priority.

Shop with confidence, pay with security.

We're here to help, just a click away.

Shop the world, without the shipping fees.

Error: No feed found.
Please go to the Instagram Feed settings page to create a feed.
Copyright © 2026 BestoLive.gr. All Rights Reserved.
