In the beauty world, Hailey Bieber is inescapable. Whether it’s for her mega-viral skin care line, minimalist manicure inspiration, or effortlessly dewy makeup looks, the multi-hyphenate is constantly dominating headlines and starting new trends. It seems like everyone wants to exude her uncomplicated, confident aura by copying her beauty routines. Well, everyone except for maybe me.
I’ve never been one to follow the trends — I march to the beat of my own beauty drum — and similarly, I haven’t caught onto the hype behind Bieber’s brand Rhode. As a beauty editor, I tend to be skeptical of celebrity-founded brands and gravitate toward products with heavy research and clinical results behind them. That said, I am a fan of testing out celebrities’ skin care routines — many of which include high-end, clinically-tested formulas — to see how they can change my complexion. So when my editor suggested I try Bieber’s modest morning routine, which she’s spoken about in her Vogue Beauty Secrets video, I was up for the test.
For two weeks, I ditched my 10-step skin care ritual in favor of Bieber’s relaxed three-step skin and simple morning makeup regimen. Did it change my life? Maybe in some ways. Keep reading for my honest review of Hailey Bieber’s morning routine.
Fast Facts
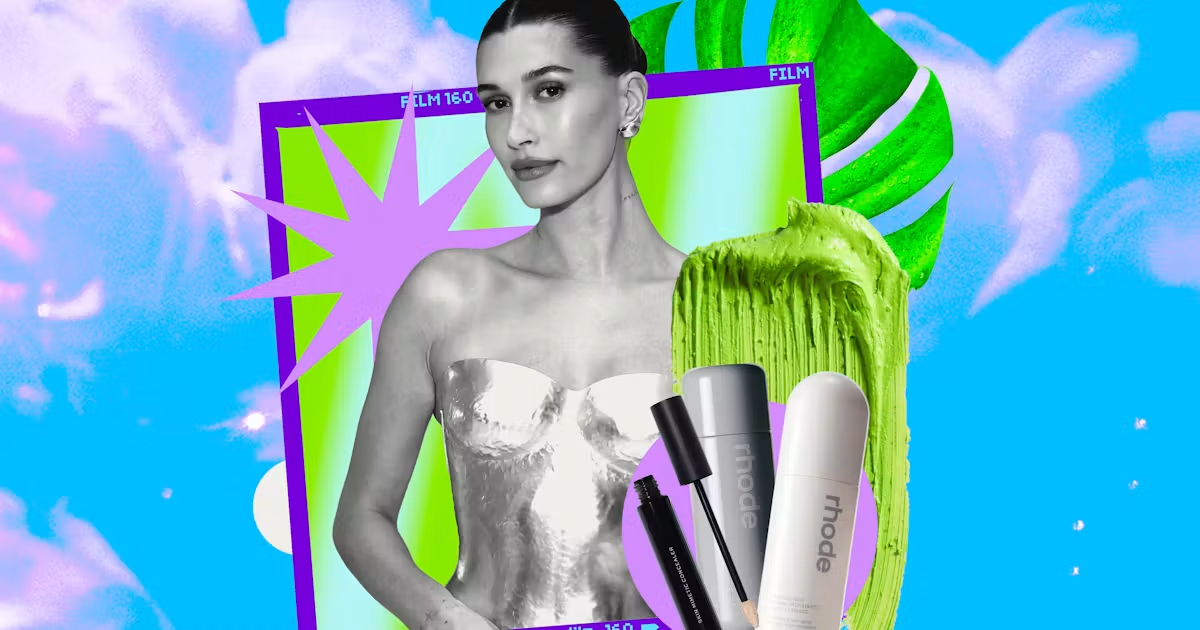
Price: ~$200. This may sound steep, but many of these products will last a very long time, and you don’t necessarily need to use the same items if you want to replicate her look. Bieber’s exact regimen includes Rhode Glazing Mist ($30), Rhode Glazing Milk ($32), Make Beauty Skin Mimetic Concealer ($28), Kosas Revealer Extra Bright Color Corrector ($32), Anastasia Beverly Hills Clear Brow Gel ($24), Rhode Pocket Blush ($25), Tarte Go With The Faux Freckle Stamp ($26), and the Rhode Peptide Lip Shape ($24).
Who this is best for: Anyone who is constantly running late (ha, me), or who wants to pare back their routine to save time and keep things simple.
What I like: The bare-bones routine made me feel fresh with minimal effort.
What I don’t like: There are some items that are totally unnecessary — I’m looking at you, freckle pen.
My rating: 3.5/5.
Start With Rhode Glazing Mist
The first nonnegotiable step in Bieber’s morning routine is the trusty facial spray from her brand Rhode. Her regimen is already pretty simple, but she says some mornings she’ll only spray this and “walk out the door.”
First impressions: I’ve tried many face mists over the years and honestly, this one did nothing for me. The mister was too fine to feel anything, and it seemed to immediately evaporate into thin air.
How to apply: Close your eyes and liberally mist all over your face.
The results: Personally, I don’t think this did much. I take very good care of my skin and it lives in a constant state of radiance, so this kept me at baseline. I didn’t notice any difference in softness, hydration, or luminosity when I spritzed this on.
Layer Rhode Glazing Milk
This might be the most popular skin care product Bieber makes, and it’s incredibly refreshing to know that she “could not live without it.” After using a face mist, she gently rubs a bit of this milky essence-serum hybrid into her skin to moisturize and strengthen her skin barrier. “It gives your skin this really beautiful, luminous, second-skin kind of look,” she says.
First impressions: I understand the hype behind this viral product. This milk acts as a three-in-one essence, toner, and serum to deeply hydrate skin and boost glowiness. I love how it immediately sank into my complexion and left it feeling pillowy soft.
How to apply: Dab a small dollop onto your hands then smooth it all over your face and neck.
The results: Guess who decided to completely ditch moisturizer — even during my nighttime routine — after using this for a few days. (It’s me.) My skin feels so healthy, bouncy, and soft the moment it melts into my skin, and it imparts a subtle radiance that truly makes me look like I’m glowing from within.
Don’t Skip Sunscreen
Nothing made me happier while watching Bieber’s video than when she whipped out sunscreen. SPF is the most important part of any skin care routine (seriously, ask any dermatologist) because it’s the best defense against sun-induced skin damage, which can lead to skin cancer and premature signs of aging, like fine lines, wrinkles and dark spots. The sunscreen Bieber uses — Isdin Fusion Water Urban SPF 30 — isn’t available in the U.S., but there are plenty of milky formulas that have a similar texture and finish. During this little experiment, I opted for Tatcha The Milky Sunscreen SPF 50.
Dabble On Concealer
Once Bieber is done with skin care, she moves onto her minimal makeup routine, which begins with just a touch of concealer. She bypasses foundation altogether and only applies concealer on areas she feels could use some brightening, like under her eyes, on her forehead, and in the crevices of her nose.
First impressions: A woman after my own heart! Similar to Bieber, I don’t ever wear foundation, and simply opt for a tiny bit of concealer to hide any blemishes and brighten my under-eyes. Her go-to concealer from Make Beauty feels like air and beautifully blends into skin with minimal effort.
How to apply: Dab a small amount of concealer where you need it — like under the eyes, on the sides of your nose, and along your chin — and blend in with either a brush or your hands. Most days, Bieber prefers her fingers. “I’ve yet to find something that’s a better applicator for makeup than your finger,” she says.
The results: This concealing method effortlessly masked any imperfections without completely covering my face. I love that my skin can still breathe while wearing concealer — something that’s appreciated during boiling summer days.
Add Color Corrector As Needed
To look even more awake, alive, and glowy, Bieber adds a little bit of a pale pink color corrector to the corners of her eyes over her concealer. “It gives luminosity to my skin and face,” she says.
First impressions: Not gonna lie, I questioned Bieber’s method with this one. I’ve interviewed dozens of makeup artists over the years, and all of them have recommended applying color correctors or brighteners under your concealer. But for the sake of this experiment, I placed a dab of the pink brightener under my eyes and blended away.
How to apply: Dab a small amount near the inner corners of your eyes and blend using a brush or your finger.
The results: I struggle with very pronounced dark circles that are difficult to cover with concealer alone. The missing piece was this color corrector. The tiniest dab offset the shadows under my eyes to make me look well-rested and bright-eyed. Sorry I ever doubted you with this one, Hails!
Swipe On Clear Brow Gel
I had to do a double-take for this step because Bieber blew past her brow routine in seconds. A quick swipe of a clear brow gel is enough for her.
First impressions: This step feels pointless for someone like me who doesn’t have many brow hairs to be tamed. I have those naturally thin ‘90s brows that don’t benefit from any sort of gel.
How to apply: Simply swipe the spoolie through your eyebrows for a brushed-out, fluffy look.
The results: This didn’t do much for me. I also rewatched Bieber’s video about 10 times to see if it changed her eyebrows, and I genuinely couldn’t see a difference. I think this step is skippable unless you have extra thick brows that could use a little zhuzhing.
Blend In Rhode Pocket Blush
To add a little life to her cheeks, Bieber swipes on her very own Rhode Pocket Blush and skillfully blends it in using her fingers. This seems to be the ultimate busy-girl step because it takes mere seconds to get a flush of color that makes an instantaneous difference in terms of looking more alive.
First impressions: This blush stick blends like a dream. The Sleepy Girl color imparted the perfect flush on my cheeks and completely enlivened my complexion so I looked more awake.
How to apply: Swipe the blush stick directly onto your cheekbones, then blend it with your fingertips.
The results: While this isn’t the most pigmented blush I’ve ever used, it’s one of the most blendable and gave me a perfect sun-kissed look. I love how easy the stick is to pop in my bag and how it feels like nothing on my skin. No doubt I’ll continue reaching for it for the rest of summer.
Similar Products:
Add Faux Freckles If Desired
Not to be dramatic, but I almost threw my laptop when I saw Bieber pull out the freckle pen. As a very freckled person (hi, I’m a redhead) who used to get bullied for having them, I hate that freckles are now seen as trendy. Bieber has natural freckles, and she mentions that after makeup artists began enhancing what she already has with this pen, she incorporated the step into her routine. To each their own, but this is a step I skipped.
Similar Products:
Finish With Rhode Peptide Lip Shape
Bieber’s final step isn’t mascara — she skips that altogether — or another spritz of her face mist. She completes her easy-breezy routine by defining her lips with another product she created: the Rhode Peptide Lip Shape. Bieber outlines her lips to give them “more fullness and volume” and then goes about her day being a mom, and, you know, running a multi-million-dollar company.
First impressions: As a relative newbie to lip liners, this is one of the smoothest I’ve ever used. It’s nearly impossible to create harsh lines with the rounded tip, and it effortlessly glides to give my pout more definition.
How to apply: Glide the pencil along the outline of your mouth to boost volume and definition. Then, use the angled silicone smudger on the other side to diffuse everything.
The results: I don’t look like I got lip injections, per se, but my lips look much more voluminous with a simple swipe of this lip liner. Also, I find so many formulas to be drying (gloss is a requirement over top!). With this, I’m fine to wear it as is because it feels so soft and comfortable.
My Final Thoughts
Mary Honkus
Overall, Bieber’s routine is pretty uncomplicated, and that’s coming from a maximalist who has about 18 steps combined in my morning and evening routines. Following her protocol cut down on my getting-ready time by about 20 minutes, which allowed me to actually be on time for things (score!).
I still think there were quite a few unnecessary details, namely adding faux freckles. I’m covered in real freckles, so I didn’t see a point in painting any more. Also, while brow gel may work for some people, those with thinner arches (like moi) won’t see much benefit from swiping that on.
My suggestion is to take elements of Bieber’s regimen — like the simplistic three-step skin care routine, as well as the minimal makeup steps — and make it your own. That’s what I did. With a few tweaks, like adding some bronzer and mascara, I’ll be sticking to this pared-back routine for the rest of summer.
About Me:
As a beauty writer with nearly a decade of experience, I spend my days testing the latest and greatest beauty products. My skin is pretty chill — aside from occasional hormonal breakouts, it is clear and glowing, no matter what I slather on. My typical skin care routine is lengthy (I’m talking eight to 10 steps), including multiple products and devices, like red light masks and microcurrent.
Don’t miss a thing
Be the first to know what’s trending, straight from Elite Daily