The ultimate skincare routine for Indian skin
Healthy skin doesn’t require 10 steps — it requires the right steps, done daily. Indian skin thrives when protected, hydrated, and supported with occasional professional care. With a simple routine …
The holiday season is right around the corner, and what better way to show your festive spirit than with Thanksgiving-inspired nails?
Professional nail art looks amazing but you can get in the holiday mood with DIY manicure. Here are easy DIY Thanksgiving nail ideas to celebrate in style.
]]>Jump to:
The perfect Thanksgiving manicure starts with colors that capture the season’s warmth.
The usual burgundies and deep reds are getting an upgrade this season. Instead of going for the same old wine-colored polish, try a deep berry shade with gold shimmer mixed in. It catches the light beautifully and adds something special to an otherwise basic manicure.
Dark forest greens are also having a moment. They’re moody enough for fall but still totally wearable for work or weekends.
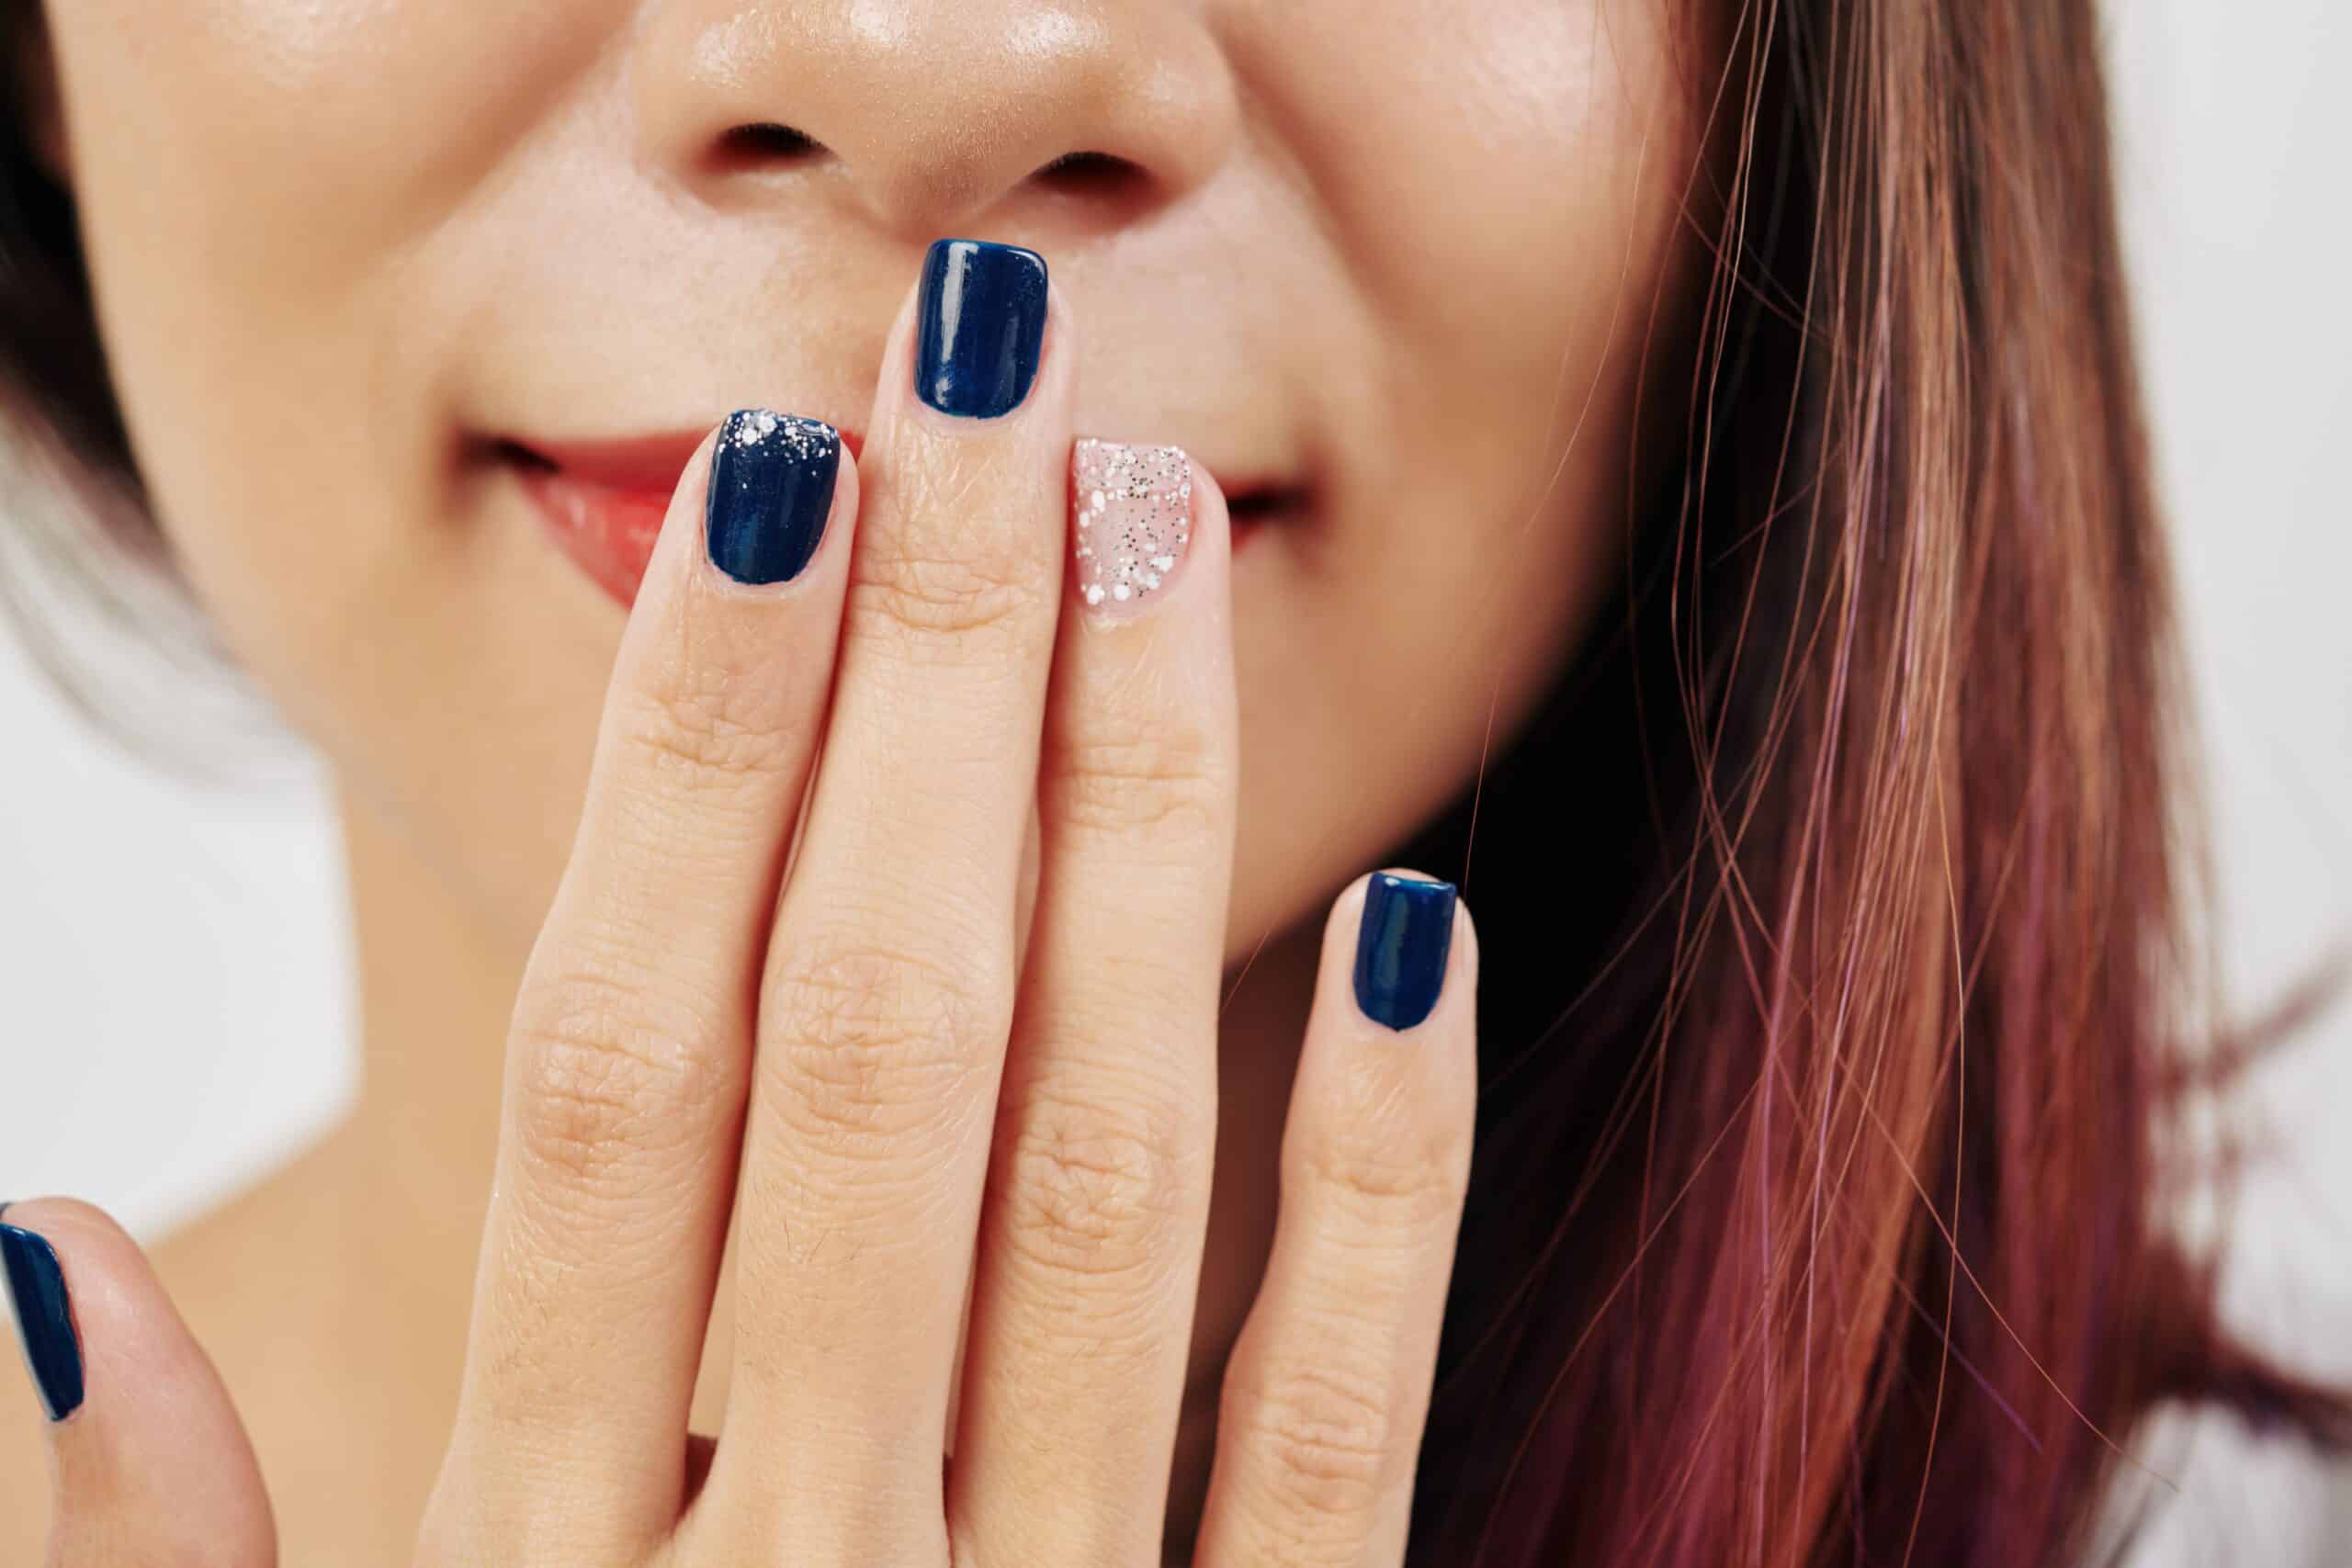
For something different, try a deep navy blue. It’s unexpected for fall but works perfectly with autumn clothes and gives a sophisticated edge to any outfit.
The best part? These colors look great in any finish: glossy, matte, or somewhere in between.
Step 1: Clean nails with polish remover and buff gently
Step 2: Apply a quality base coat to protect your nails
Step 3: Select your fall shade (try mixing burnt orange and copper)
Step 4: Paint 2-3 thin coats, waiting 2 minutes between each
Step 5: Add a shimmery top coat for extra shine
Step 6: For accent nails, add gold details or glitter
This classic look is perfect for those who want seasonal style without the fuss. The best part? It pairs perfectly with everything from cozy sweaters to fancy Thanksgiving dinner outfits.
Fall leaves are the perfect way to celebrate the season without being too obvious. This design looks impressive but uses basic techniques anyone can handle. The secret is not aiming for perfection because real leaves aren’t perfect either.
Step 1: Choose a fall-colored base (burgundy works great)
Step 2: Make three small dots in a triangle shape
Step 3: Use a thin brush to connect the dots
Step 4: Add a simple stem at the bottom
Step 5: Dot some gold polish for extra sparkle
Step 6: Lock in your design with top coat.
These delicate leaves bring a touch of nature to your manicure while keeping things elegant. They’re subtle enough for work but festive enough for holiday celebrations.
Want something easier? Try a gradient of fall colors across your nails, going from deep red to orange to yellow. It mimics the way leaves change color and looks way more complicated than it actually is.
You can also do a simple accent nail with a leaf design while keeping the rest of your nails solid.
Plaid screams cozy fall vibes and this nail version is easier than you’d think. The trick is focusing on one or two accent nails rather than trying to plaid everything. Trust me, your sanity will thank you later.
Step 1: Paint a light neutral base color
Step 2: Apply thin striping tape in parallel lines
Step 3: Paint over with your chosen fall shade
Step 4: Remove the tape while the polish is still wet
Step 5: Repeat the process with crossing lines
Step 6: Finish with a thick top coat.
This design looks complex but takes less than 30 minutes to create. It’s perfect for those who want to make a statement without spending hours on their nails.
Now that you’ve mastered plaid, take it up a notch to create a simple pattern for pumpkins and squash. Perfect for celebrating the season’s bounty!
This season’s glitter isn’t about looking like a disco ball. Instead, try polishes with fine shimmer that gives depth to fall colors.
A brown polish with copper shimmer or a grey with silver sparkles adds interest without going overboard.
These subtle sparkles work especially well in office settings where you want to keep things professional but still fun.
For weekends, you can go a bit bolder with metallic accents. Try painting just the tips of your nails with gold or copper polish, or add a thin metallic stripe down the center of each nail.
Pumpkins are not just for your coffee anymore. Orange is having a real moment in nail art but forget about bright Halloween orange.
Look for burnt orange, terra cotta, and copper shades that feel sophisticated. These colors work especially well with matte top coats, which give them a velvet-like finish.
For a cute but not cutesy pumpkin design, paint tiny white pumpkin silhouettes on one or two nails while keeping the others in solid fall shades. Or try a gradient from orange to white for a candy corn effect that’s subtle enough for grown-ups.
Take a basic nude colored manicure up a notch with simple acorn shapes. Dot on black and white polish on the nail bed of an accent nail with black French tips.
The French manicure is back but with autumnal twists. Instead of white tips, try gold or copper. Or go for an ombre effect where the tip gradually fades into the base color.
This works beautifully with fall shades like burgundy fading into nude, or dark green fading into a lighter sage.
Another option is to do the tips in different fall colors on each nail, keeping the base neutral. This gives you the chance to wear all your favorite autumn shades at once without looking too busy.
Not everyone has time for complicated designs. A solid color in any fall shade looks perfectly seasonal and takes minutes to apply.
Dark purple, burgundy, or forest green are foolproof choices that go with everything in your fall wardrobe.
If you want something a little extra but still simple, try adding a single thin stripe of gold down the center of each nail, or just on the ring finger as an accent. It takes barely any extra time but makes your manicure look much more intentional.
Getting your Thanksgiving nail art right comes down to a few key practices that make all the difference in your final look.
Clean your nails thoroughly with polish remover and gently buff the surface. Push back your cuticles and trim any hangnails.
A smooth, clean canvas makes your design look more professional and helps it last longer. Apply a base coat and let it dry completely before starting your design.
Invest in a few basic tools like thin brushes, dotting tools, and striping tape. Good quality brushes make precise lines easier while dotting tools create perfect circles every time.
Clean your tools after each use to prevent polish buildup and keep them working like new.
Natural daylight or a bright desk lamp helps you spot mistakes and ensure even application. Poor lighting can make you miss spots or apply polish unevenly.
Position your workspace near a window or use a good LED lamp to see what you’re doing clearly.
Rushing leads to smudges and mistakes. Allow each layer to dry completely before adding the next element.
If you’re creating detailed designs, practice on paper first to get comfortable with the motion. It’s better to spend extra time doing it right than to rush and start over.
Keep a small angled brush and acetone handy for tidying edges. Dip the brush in acetone and carefully clean around your cuticles after applying polish.
This simple step makes your manicure look salon-perfect. For detailed designs, use a cotton swab to fix small mistakes before they dry.
Apply your top coat carefully to avoid smearing designs. Start with a thin layer, then add a thicker one once the first is dry.
Make sure to cap the free edge of your nails to prevent chipping. Also, try reapplying top coat every few days to extend the life of your manicure.
These nail designs are perfect for showing your holiday spirit while staying practical enough for all your Thanksgiving preparations. So have fun with it, experiment with different combinations, and most importantly, wear your design with confidence.
2
A growing number of aesthetic clinics in Europe, the United Kingdom, and parts of Asia have begun offering skin-rejuvenation injections made from polynucleotides, DNA fragments purified from salmon or trout sperm.
The treatment gained public attention after several celebrities including Charli XCX and Jennifer Aniston mentioned using it, leading to increased demand in late 2024 and 2025.
Polynucleotides are extracted from fish sperm through a controlled laboratory process. The DNA is then broken into small chains, sterilised, and prepared for medical use.
According to clinicians, these fragments may signal skin cells to repair damaged tissue, increase collagen and elastin production, and reduce inflammation. Clinics typically charge between £200 and £500 per session, and most patients complete a series of three treatments several weeks apart.
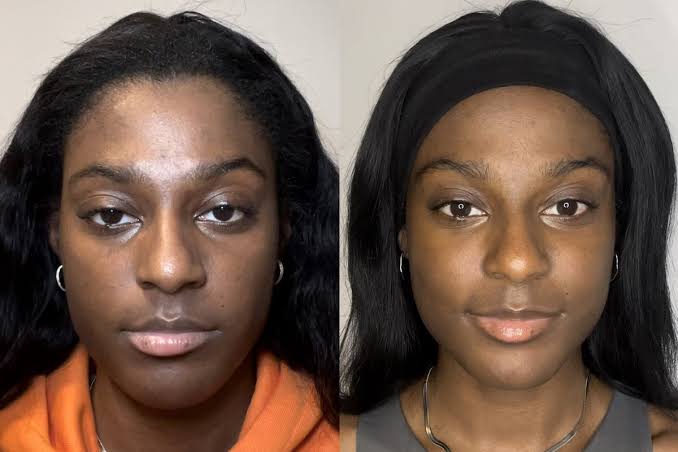
At a clinic in Manchester in November 2025, 29-year-old patient Abby received polynucleotide injections aimed at reducing acne-related scarring and redness. She told BBC that the earlier part of her treatment, which targeted the area under her eyes, reduced her dark circles.
The practitioner who treated her, nurse Helena Dunk, reported that many clients notice better hydration and improved skin texture, though results vary.
However, research into the treatment is still developing. Small studies from Europe and South Korea suggest improvements in skin elasticity, hydration, and scar appearance. However, dermatologists, including Dr John Pagliaro in Brisbane, Australia, state that larger, long-term studies are needed before confirming the full benefits and safety of the injections.
Safety concerns remain. The UK’s Medicine and Healthcare products Regulatory Agency (MHRA) registers polynucleotides as medical devices, but they are not regulated in the same way as medicines.
The U.S. Food and Drug Administration (FDA) has not approved polynucleotides for injection. Complications reported in the UK and the United States include infections, pigmentation changes, swelling, and allergic reactions, especially when products are poorly tested or administered incorrectly.
A case in New York involved 31-year-old Charlotte Bickley, who developed an infection and long-lasting dark rings under her eyes after treatment in 2024. She believes the injections were placed too deeply and is still receiving care to address the side effects.
Industry organisations, including Save Face in the UK, warn that unregulated products and untrained practitioners are entering the market as demand increases. They advise patients to ensure that treatments are carried out by qualified medical professionals using tested brands.
Despite the concerns, many clinicians continue to use polynucleotides, describing them as a useful option for people seeking gradual, natural-looking skin improvement. Experts have stated that results differ widely and that no single treatment is effective for everyone.
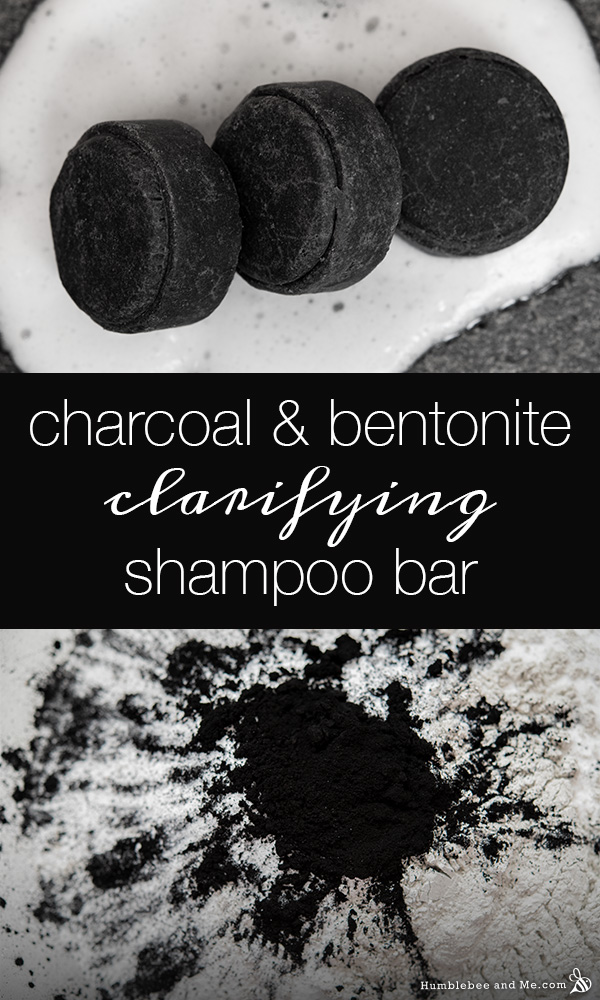
Today I’m sharing a formulation for some intriguingly dark, rock-hard shampoo bars that star two natural ingredients that are long-time favourites in the DIY space: activated charcoal and bentonite clay. I’ve had tons of requests to use these ingredients in a shampoo bar over the years, and since both are super popular in detox-type DIYs, I thought a clarifying sulphate-free shampoo bar was a perfect fit! These bars are fast & easy to make, don’t require any fancy equipment, and make amazing gifts.
Watch Now
Clarifying shampoos are designed to “reset” your hair, removing product build up and excess oil. If your hair is feeling limp or looking dull, it could be time for a clarifying wash. I try to clarify regularly (every 3-ish weeks), or whenever my waves just aren’t styling and cooperating the way they usually do.
In order to “reset” the hair, clarifying shampoos need to be really effective cleansers, so they tend to be stronger than “regular” shampoos and shouldn’t be used for every wash. It’s common to find stronger surfactants in them, like sulphates, as well as lower levels of re-fatting ingredients.
When formulating a clarifying shampoo, the challenge is in making sure it does a great job of cleansing without leaving the hair stripped and feeling like straw—and I find this bar does that really well!
Most of the cleansing in this bar comes from a blend of two of my favourite sulphate-free surfactants; this pair creates gorgeous dense, velvety lather, that cleanses effectively, but gently.
The other two ingredients in the dry phase work with those gentle surfactants to really make this bar clarifying: bentonite clay and activated charcoal. If you’ve made shampoo bars with me before you’ll know I’ve used SCI and SLSa in lots of “every day” type shampoo bar formulations—the bentonite and charcoal make a big difference in the clarifying power of this formulation, even at low levels.
Bentonite clay
Bentonite is a really unique clay; compared to kaolin and French clays, it’s much heavier, and when combined with water it turns into more of a gel than a creamy paste. It’s also very absorbent, explaining its cleansing-boosting powers.
Learn more: Bentonite Clay and DIY Beauty, an interview with Ian Hutcheon, Professor Emeritus in Geochemistry
Activated charcoal is what gives these bars their inky colour. What make activated charcoal “activated” (and not just smashed up drawing charcoal) is its surface area—it has a TON of it! That’s what make it super duper absorbent. In fact, it’s so absorbent that it’s used to refine raw shea butter!
Learn more: Activated Charcoal in Skincare: The Science from Lab Muffin
Now, there isn’t evidence that activated charcoal does anything super special in skincare or haircare products—Lab Muffin explains it could theoretically work, but it’s not proven. Evidence or not, though, brands like Living Proof, K18, and Briogeo all sell highly rated (and expensive!) clarifying shampoos that include activated charcoal, and I do think it makes a difference in this formulation.
The wet phase is a blend of ingredients designed to prevent that overly clean, straw-hair feel as well as get the pH of these bars to land in a hair-friendly zone.
Cocamidopropyl Betaine, a gentle amphoteric surfactant, helps boost lather and make the overall bar milder. Vegetable glycerin and hydrolyzed rice protein counter the drying effects of cleansing, and the protein also helps structure the hair.
Jojoba oil provides much needed re-fatting, which is essential to ensuring your hair doesn’t feel disgusting after shampooing. This is more oil than I thought I’d need in this bar, but after testing it I didn’t want to go any lower as my hair was very clean and I didn’t want to stray into “straw” territory. If you don’t have jojoba oil you can definitely use a different liquid oil your hair loves.
To preserve the bars I’m using Geogard® ECT; an all-natural preservative that’s also very acidic. That acidity works in our favour here as bentonite clay is quite basic, so we need to pull the pH of the bars down to a good-for-the-hair mildly acidic level. As I developed this formulation I found the preservative alone wasn’t enough to get the pH where it needed to be, so I also included some citric acid (it dissolves easily in all the water in the Cocamidopropyl Betaine).
And lastly, to scent the bars, some fragrance! You’ve got room to play on the scent front. What do you think a lump of coal should smell like? Surely not like actual coal, ha. Something else that’s black—like anise/liquorice? Vanilla and anise? Something warm and deep? I’m using Cheirosa 40 from Bulk Apothecary—their version of the Sol de Janeiro scent of the same name. It’s not the famous Sol de Janeiro “bum bum” scent, but if you love that one, I’m pretty confident you’ll love this one, too. It’s similarly deep, rich, sweet, and intoxicating. Swoon!
Turning these ingredients into bars is simple; just stir together the powders, add the wet ingredients, and then mix and knead until you have a smooth, uniform dough. Shape that dough into bars, leave them to dry for a few days, and you’re off to the races!
I used a small hand press from YellowBee to shape three of the bars, and then leaned into the “lumps of coal” theme that inspired this formulation and shaped the last two into coal-y lumps that I’ll drop into some stockings
Watch Now
Dry phase
160g | 40% Sodium Lauryl Sulfoacetate (SLSa) (USA / Canada)
104g | 26% Sodium Cocoyl Isethionate (SCI) (USA / Canada)
20g | 5% Bentonite clay
2g | 0.5% Activated charcoal
Wet phase
4g | 1% Geogard® ECT (USA / Canada / UK / Germany / Aus / NZ)
52.4g | 13.1% Cocamidopropyl Betaine (USA / Canada)
0.4g | 0.1% citric acid (USA / Canada)
8g | 2% vegetable glycerine (USA / Canada)
3.2g | 0.8% fragrance
8g | 2% hydrolyzed rice protein (USA / Canada)
38g | 9.5% jojoba oil (USA / Canada)
Put on your dust mask (USA / Canada) and weigh the dry phase into a bowl. Stir until uniform.
Add the wet phase to the dry phase. Put on a pair of nitrile gloves and blend thoroughly with your hands. Once the mixture is uniform, you’ll be left with a stiff, easily-mouldable dough.
If your dough is too sticky, you’ll need to add more clay. If your dough is too dry, you’ll need to add a little bit more distilled water.
Now it’s time to shape or press the bar! I used a small hand press from YellowBee, lining the top and bottom with rounds of parchment paper. Please watch the video to see this in action.
You can also use a powered press like The Bath Bomb Press, a hard-sided cavity mould (a measuring cup works nicely!), or simply hand shape the bars.
Carefully un-mold the bars, tidy them up if needed, and leave them to dry for at least 3–5 days before using.
To use, massage the bar into soaking wet hair to work up a rich lather, work through the entire length of your hair, and rinse thoroughly. Follow up with a rich hair conditioner or rinse-out mask to replenish your freshly clarified hair. Enjoy!
When made as written, the pH of these shampoo bars comes out to around 5, which is great.
Because these shampoo bars will regularly come into contact with water, I recommend including a broad-spectrum preservative to ward off microbial growth. These bars should easily last 6 months in the shower; I’ve never had a shampoo bar spoil on me, and I’ve had several live in my shower for over a year.
As always, be aware that making substitutions will change the final product. While these swaps won’t break the formulation, you will get a different final product than I did.