Cottage Cheese Ice Cream Recipe (High Protein)

Cottage Cheese Ice Cream Recipe (High Protein)

Since you clicked on this article, I’m going to assume one of two things:

  • You’re curious if the recipe title is serious. (It is.)
  • You’re open to the idea that veggies can belong in meatballs and cottage cheese can belong in ice cream.

Whether it’s one or both, welcome. The idea of cottage cheese in dessert might sound a little weird at first, but don’t worry – it becomes a rich, creamy base that lets the sweet tropical mango flavor take the lead.

If you’re wondering, “But WHY does cottage cheese belong in ice cream,” you’re asking the right question. Traditional ice cream relies on a carefully balanced combination of fat, sugar, milk solids, and air to create its creamy texture.

If you try to, say, increase the protein because you’re in midlife and it’s suddenly your favorite macronutrient, chances are you’ll accidentally change that crucial balance and end up banging your spoon against an icy brick.

That’s where cottage cheese comes in. When blended until completely smooth, it allows you to change the ratios while keeping the creaminess and structure that makes ice cream scoopable and satisfying.

This mango version is lower in sugar and higher in protein than traditional ice cream, yet still silky smooth, sweet, and well worth the five-ish minutes of hands-on prep time.

Cottage Cheese Ice Cream Recipe

This mango ice cream is silky smooth, sweet, and well worth the five-ish minutes of hands-on prep time.Makes approximately 3.5 – 4 cups

Prep Time 5 minutes Churing time 20 minutes

Author Heather Dessinger, FDN-P

  • 2 cups whole milk cottage cheese I recommend 4% milkfat
  • 2 cups frozen mango chunks
  • 25-30 grams unflavored or vanilla protein powder Optional – I used 2 scoops Heart & Soil Whey
  • 1½ tsp vanilla extract Start with 1 tsp if using vanilla protein powder and add more to taste
  • 3 tbsp maple syrup

Ice Cream Maker Method

  • Blend in a high powered blender until very smooth.

  • Pour the mixture into your ice cream maker and churn according to your manufacturer’s instructions.

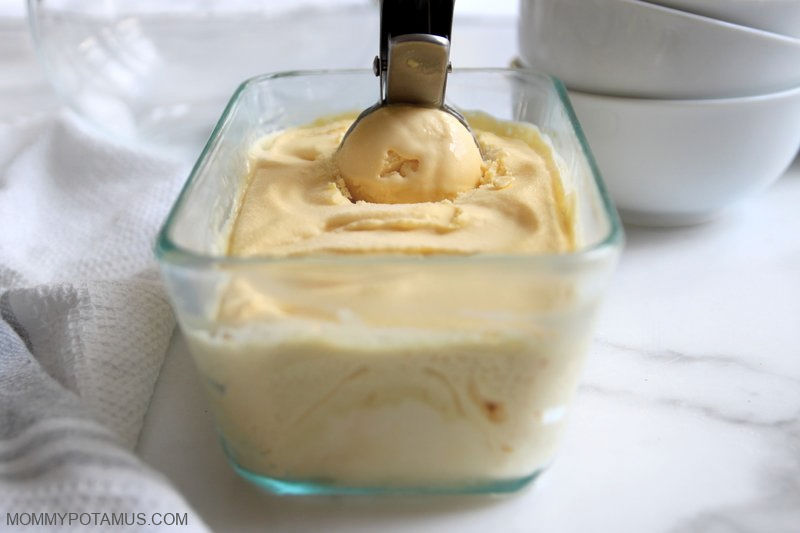
  • When the ice cream is ready it should have a soft serve consistency. You can eat it right away, or if you prefer a firmer consistency transfer it into an airtight container and place in the freezer for 2-4 hours. I like to use a glass loaf pan with a lid.
  • To Serve: If you decide to freeze the ice cream for a firmer texture, you’ll get the creamiest results by letting it soften a bit before serving. I like to think of it more as “well chilled” than deeply frozen.Because cottage cheese-based ice cream can become a little icy when frozen solid, letting it rest on the counter allows it to soften into a smoother, creamier texture that tastes more like traditional ice cream. Depending on the size and depth of your container, this can take anywhere from 10 to 20 minutes.

No Ice Cream Maker Method

  • Blend the ingredients in a high-powered blender until very smooth.

  • Transfer the mixture to a freezer-safe container and place it in the freezer. To help keep the texture creamy, give it a good fold with a spatula every 30 minutes or so. This helps break up ice crystals as they form.

  • Once the mixture becomes too firm to fold easily, just leave it alone and continue chilling until it reaches your desired consistency, about 3–4 hours total.

  • To Serve:Because cottage cheese-based ice cream can become a little icy when frozen solid, letting it rest on the counter allows it to soften into a smoother, creamier texture that tastes more like traditional ice cream. Depending on the size and depth of your container, this usually takes about 10–20 minutes.

Nutrition estimate based on Good Culture 4% and 2 scoops of Heart & Soil Whey. 

Serving: 0.5c | Calories: 111kcal | Carbohydrates: 13g | Protein: 10g | Fat: 3g | Saturated Fat: 2g | Polyunsaturated Fat: 0.03g | Monounsaturated Fat: 0.1g | Cholesterol: 16mg | Sodium: 20mg | Potassium: 142mg | Fiber: 1g | Sugar: 11g | Vitamin A: 446IU | Vitamin C: 15mg | Calcium: 61mg | Iron: 0.1mg

A Note About Ice Cream Makers

When I bought my current ice cream maker years ago, the product description listed only stainless steel and plastic. After it arrived, I discovered that the freezing bowl was actually made from anodized aluminum. It’s not my first choice in terms of material, but at the time I couldn’t find a compressor-style machine with a stainless steel bowl, so I decided to keep it for occasional use.

There are better options available now. If I were buying one today, I’d probably choose the Whynter Ice Cream Maker. It has a built-in compressor, so you can make ice cream, gelato, or sorbet whenever you want without freezing a bowl overnight. It also uses a stainless steel mixing bowl and a BPA-free plastic paddle.

If budget weren’t a factor, my top pick would be the Lello 4080 Musso Lussino Ice Cream Maker. The bowl and paddle are made with stainless steel, and it has a 4.6 star rating and over 1,000 reviews.

Also, if you enjoy this recipe, you might also like my Strawberry Cottage Cheese Ice Cream.
Share with a friend! 👇

Tags: , , , , , ,
Detox bath recipes

5 Simple & Natural Detox Bath Recipes

Nothing is more relaxing than a warm bath… except a relaxing detox bath. These are a great option for anyone who struggles with skin issues or other signs of toxin overwhelm. It’s also an inexpensive way to boost health.

I’m always up for a warm bath, and these natural add-ons help improve health while you chill out. Don’t have time for a full soak? You can also do a foot bath with these and get some of the benefits. 

I’ve found that detoxing usually makes me tired, so I like to do this as part of an evening/bedtime routine. They’re also good for kids to give their body’s natural defenses some natural support. If you have any health conditions or are pregnant or nursing, be sure to check with your healthcare professional first! 

Natural Detox Bath Recipes

Over the years my opinions on what detox even is have changed. I now see detox as something our body innately knows how to do on its own. Our liver, kidneys, skin, and other organs all work to remove toxins on a regular basis. 

However, with modern life, sometimes they need a little more targeted support.  

You may have heard of an Epsom salt bath (and that is our base recipe here), but what about a clay bath, vinegar bath, or even a mustard bath?! You’ll find many of these ingredients already in your pantry, but they serve more than one purpose. Ingredients like salt, baking soda, essential oils, and vinegar boost circulation, aid detox and provide soothing relaxation. I also like using Epsom salts as a way to boost magnesium stores. 

You only need a few simple ingredients to make some or all of these detox bath recipes:

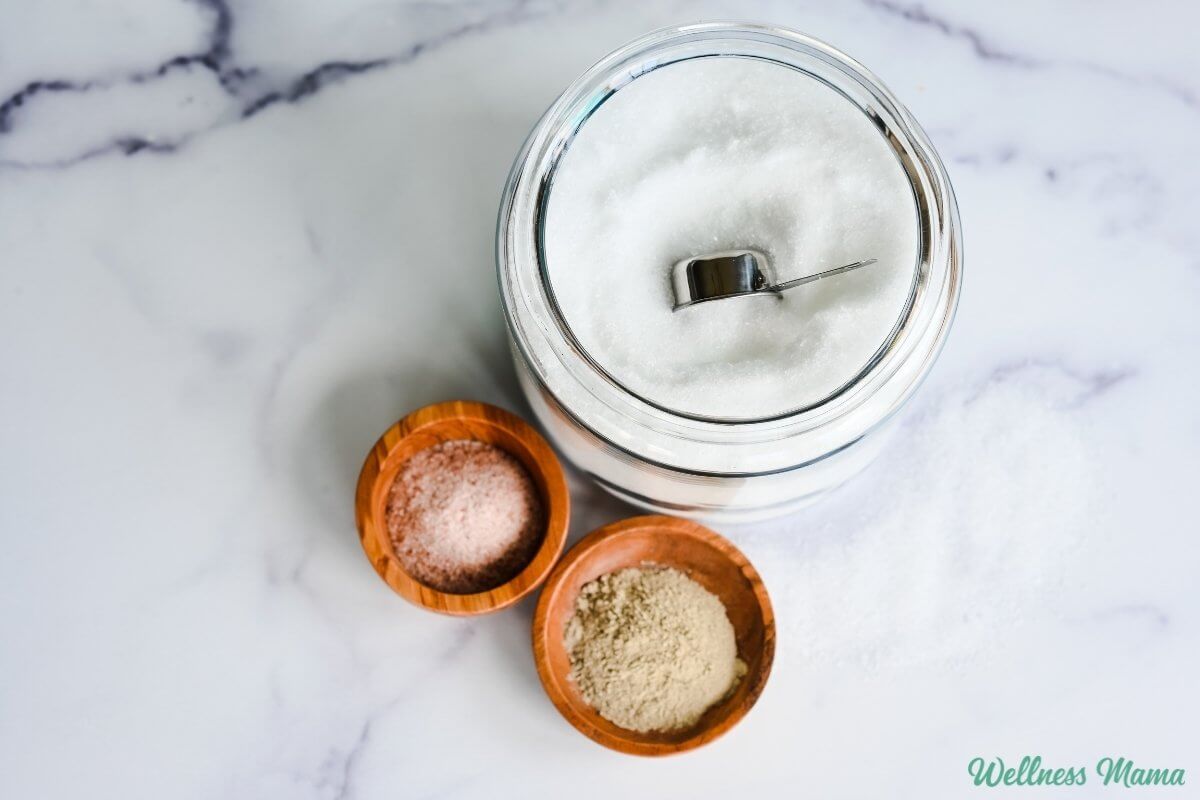
  • Epsom salt
  • apple cider vinegar
  • baking soda
  • bentonite clay (it also has lots of other uses, so consider stocking up!)
  • mustard powder or ginger powder
  • essential oils (mix with powder or salt rather than directly to the bath)

These recipes are also safe and soothing for kids too! (But choose your essential oils wisely.)

Basic Epsom Salt Detox Bath Recipe

Here’s my basic detox bath recipe. Find the other variations below. Mix and match, or find your favorite!

Salt Detox Bath Recipe

This simple salt bath recipe is great for soothing skin irritation, boosting magnesium levels, and overall detoxing.

Yield: 1 bath

Author: Katie Wells

  • In a small pan, bring 2 cups of water to a boil.

  • Add the sea salt, Epsom salt, and baking soda to a quart-size Mason jar.

  • SLOWLY pour the hot water into the jar. The mixture will foam up, so be sure to do this slowly and do not hold the jar to avoid burning.

  • Fill the bathtub with warm/hot water.

  • Add the apple cider vinegar.

  • Pour the salt mixture in and add essential oils if using.

  • Soak in the bath for 30 minutes or as long as desired.

  • With any detox bath, you may feel tired or lightheaded when you get out. I don’t recommend doing this while home alone or before going somewhere in case you are tired or need help.
  • Avoid essential oils that are harsher on mucous membranes, like mint, cinnamon, oregano, or lemongrass. They can cause an unpleasant burning sensation. 

Clay Detox Bath Recipe

Bentonite clay is an ingredient I use in a lot of different recipes, from face masks to toothpaste. It does a really good job of absorbing heavy metals that can accumulate in our body.

It’s recommended to use a drain filter or cloth filter in the drain when doing a clay bath. This helps prevent the bentonite from accumulating in the pipes and potentially causing a clog. 

Clay Detox Bath Instructions

Dissolve the Epsom salts in a warm/hot bath and add essential oils if desired. For the clay, there are two options:

  1. Vigorously mix the clay into a small amount of water until the clumps are mostly dissolved.  Bentonite can react to metal, so I use plastic or wooden spoons to mix. Add the clay mix to the bath and soak for at least 20 minutes.
  2. Mix that clay with a small amount of water to make a paste. Stand in the tub full of water and rub the clay mix all over your body to create a skin mask and let it dry for 5 minutes before sitting down. This provides direct contact with the skin and effectively pulls toxins from the skin. Soak in the bath for at least 20 minutes or as long as desired. While soaking, use a washcloth to scrub any remaining clay off the skin.

This bath is great for removing a lot of toxins as the clay binds to heavy metals. The Epsom salts help pull a variety of toxins from the body while replenishing magnesium levels.

Oxygen Detox Bath Recipe

This bath is especially helpful during illness. Ginger helps clear congestion, alleviate body aches, and stimulate circulation for faster healing times. It can also be helpful for allergies or skin irritation. You can also make a strong tea with the ginger, strain after 15 minutes, then add the ginger tea to the bath. 

Oxygen Detox Bath Instructions

  1. Fill the tub with warm/hot water and add the hydrogen peroxide and dried ginger.
  2. Soak in tub for 30 minutes or as long as desired.

Vinegar Detox Bath Recipe

This is an excellent bath for soothing skin problems since vinegar balances the skin’s pH. While I don’t love the smell of vinegar, if anyone in the family has sunburn, eczema, dandruff, or dry itchy skin, we take a vinegar bath.

Apple cider vinegar has a whole host of benefits, and I find it not only leaves me with soft skin, but shiny hair as well.

Vinegar Bath Instructions

  1. Once or twice a week, I fill a tub with warm to hot water and add 1-2 cups of apple cider vinegar.
  2. I soak for 20-30 minutes, using a washcloth to clean my face and making sure to get my hair wet as well.

After bathing, I rinse off in a cool shower, though some recommend letting the vinegar water dry on the skin.

Mustard Detox Bath Recipe

I know, I’ve lost my mind, right? If it helps, I’m talking about organic mustard powder, not the yellow stuff in a bottle! Ancient cultures often used this spice in preparations to soothe colds, flus, and sore muscles, thanks to its circulation-stimulating properties.

Magnesium and essential oils make this bath both detoxifying and aromatic.

Mustard Bath Instructions

I use this recipe which uses organic mustard powder, Epsom salts, and a mix of essential oils.

Additional Detox Bath Notes

  • The warmer the water, the more powerful the detox effect will be.
  • If you have chlorine and fluoride in your water, I recommend adding a few tablespoons of bentonite clay to any of these baths to help absorb the chemicals so they aren’t absorbed into the skin. A home filter or bath filter are good options too. 
  • Any of these natural ingredients can be used alone or in combination for a cleansing effect.
  • All recipes can be doubled or tripled, but this will increase the detox effect.

More Bath Recipes for Natural Detoxification

I recommend starting slowly with these bath detox recipes or any health change. To help, I’ve compiled all of my ideas for detoxing your body and your home in my book The Wellness Mama 5-Step Lifestyle Detox.

If you need a high-quality bathtub filter for safer bath water, I use Canopy.

This article was medically reviewed by Madiha Saeed, MD, a board certified family physician. As always, this is not personal medical advice and we recommend that you talk with your doctor.

Ever taken a detox bath? Got a different recipe you use? Share below!

Tags: , , , ,
Pigmentation Treatment: From sunscreen to sleep: Everyday habits that impact pigmentation treatment

Pigmentation Treatment: From sunscreen to sleep: Everyday habits that impact pigmentation treatment

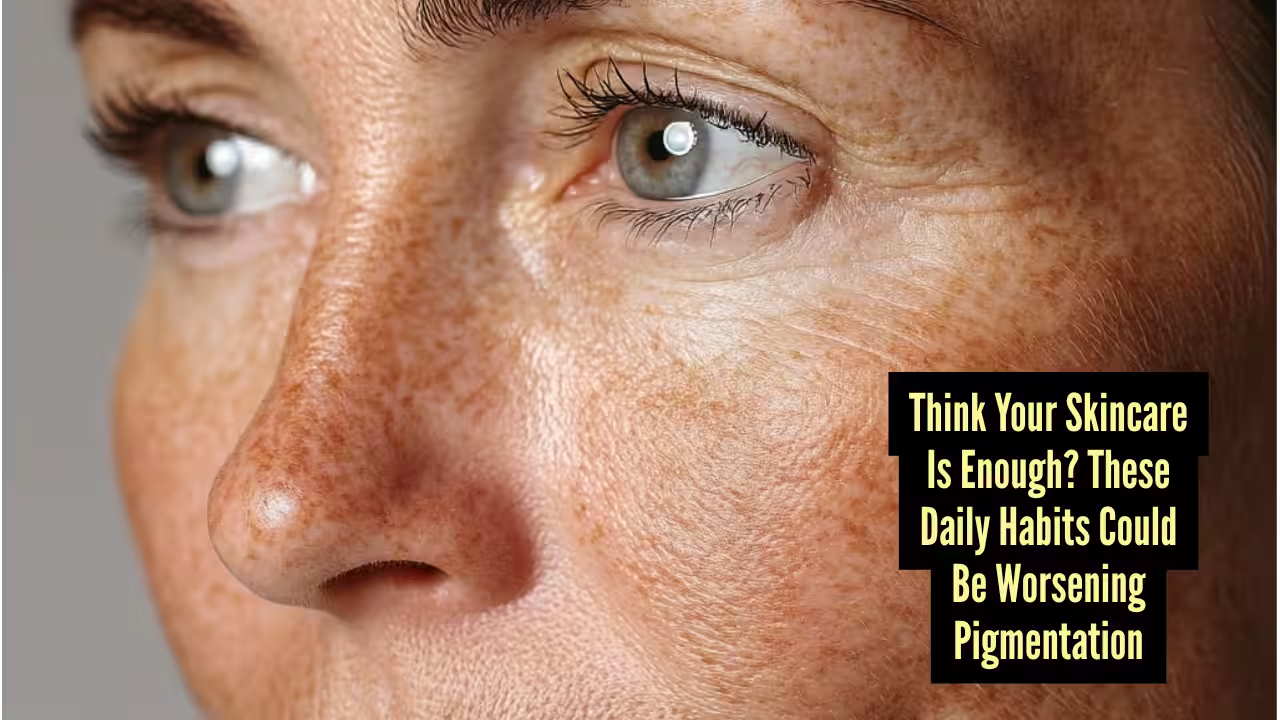
(Image Credits: Pinterest) There was a time when pigmentation was largely discussed inside a dermatologist’s clinic. Today, it has become one of the most searched skincare concerns, and understandably so. Consumers are more aware, more curious and far more willing to invest in skincare than ever before. Despite the growing number of products and ingredients available, one question continues to surface: “Why isn’t my pigmentation getting better?”The answer often lies beyond the skincare shelfPigmentation doesn’t appear overnight, and it rarely has a single cause. While genetics and hormonal changes can certainly play a role, the skin is also responding to countless everyday experiences that we barely think about. Those small, repeated exposures eventually leave a visible imprint.

(Image Credits: Pinterest)

It’s Never Just One Sunny AfternoonWhen people hear the words “sun damage”, they usually picture a beach holiday or an afternoon spent outdoors. In reality, skin doesn’t distinguish between a holiday in Goa and twenty minutes spent walking to work every morning. Those brief moments in the sun, repeated day after day, are enough to keep triggering melanin production. Add to that long hours spent near windows, frequent commutes or forgetting to reapply sunscreen, and it becomes easier to understand why pigmentation has a habit of returning just when it seems to be improving. The skin remembers patterns, not occasions The Industry Has Created Smarter Consumers and Higher ExpectationsOne of the biggest changes we have witnessed over the years is how informed skincare consumers have become. Ingredient lists are no longer intimidating. People know what niacinamide does, they ask about tranexamic acid, and they actively seek dermatologist-backed formulations. That shift is encouraging because informed consumers make better choices.At the same time, information overload has created a different challenge. Many people believe that if one active ingredient works, four must work even better. In reality, the skin doesn’t reward excess. It rewards consistency.An overloaded routine can leave the skin irritated, weaken its protective barrier and, ironically, make pigmentation even more difficult to manage. Sometimes the best decision is not adding another serum but giving the skin the stability it has been missing.

(Image Credits: Pinterest)

Healthy Skin Is Built Long After the Routine EndsThe skincare industry understandably spends a great deal of time talking about products. We spend far less time talking about lifestyle. And the skin is influenced by the life we lead every day. Stress, inadequate sleep, poor hydration and environmental exposure all affect how efficiently the skin repairs itself. These are not dramatic events that instantly create pigmentation, but they shape how resilient the skin is and how well it responds to treatment over time. This is why skincare should never be viewed in isolation. The routine you follow in front of the mirror is only one part of the equation. What happens during the remaining twenty-three hours of the day matters just as much. Science Is Becoming More IntelligentIn a conversation with Shaily Mehrotra, CEO & Co-Founder of Fixderma & FCL, she solely spoke about the issue and said, “Dermatology has moved well beyond the idea of simply lightening dark spots. The focus today is understanding why pigmentation develops and supporting healthier skin while addressing those biological pathways. That is where innovation becomes meaningful. The future of skincare is becoming more precise, more personalised and far more respectful of how the skin naturally functions.” She further added, “People often ask what the most effective pigmentation treatment is. There isn’t a single answer. The most effective treatment is one that combines good science with good habits. A thoughtfully formulated skincare routine can certainly improve pigmentation, but it performs at its best when it is supported by everyday decisions that protect the skin instead of challenging it.”

Tags: , , , , , ,
The Ugly Truth About Lash/Brow Serums You Need To Know...

The Ugly Truth About Lash/Brow Serums You Need To Know…

If you are using a serum to help grow thicker, longer lashes and/or brows, this post is for you. I’ve always been an advocate of natural ingredients and always vetted my beauty products leaning mainly on DIY recipes but I will admit I’ve cracked in the last year and tried out a few viral products making huge claims and speaking straight to my insecurities on aging.

One of those products I fell for was a lash serum. An influencer was showing before and afters of her lashes. The growth was incredible and I clicked the link in 2 seconds flat. I used the serum and I will say, it worked. However, my eyes burned while applying it and something in my gut made me uneasy about continuing using it.

Turns out, my gut was right and upon further research I found that most lash serums contain a class of ingredient called prostaglandin analogs or PGAs. There are several different ingredients that fall under this class of drug. This type of ingredient causes the fat cells around your eyes to shrink which gives a sunken in, hollow appearance causing a deep shadow all around the eye. PGAs can also cause permanent color changes to the iris, darkening of the eyelid and chronic eye irritation.

PGAs Commonly Found in Lash/Brow Growth Serums:

  • Isopropyl Cloprostenate (IPCP): The most common prostaglandin analog used in over-the-counter (OTC) brow and lash serums including the one I fell for.
  • Ethyl Tafluprostamide (DDDE)
  • Methylamido-dihydro-noralfaprostal (MDN)
  • Bimatoprost: The active ingredient in prescription Latisse, and a prostaglandin derivative.
  • Latanoprost & Travoprost: Primarily used in prescription glaucoma eye drops, but sometimes utilized in off-label serums.

Popular Lash/Brow Growth Serums That Contain PGAs

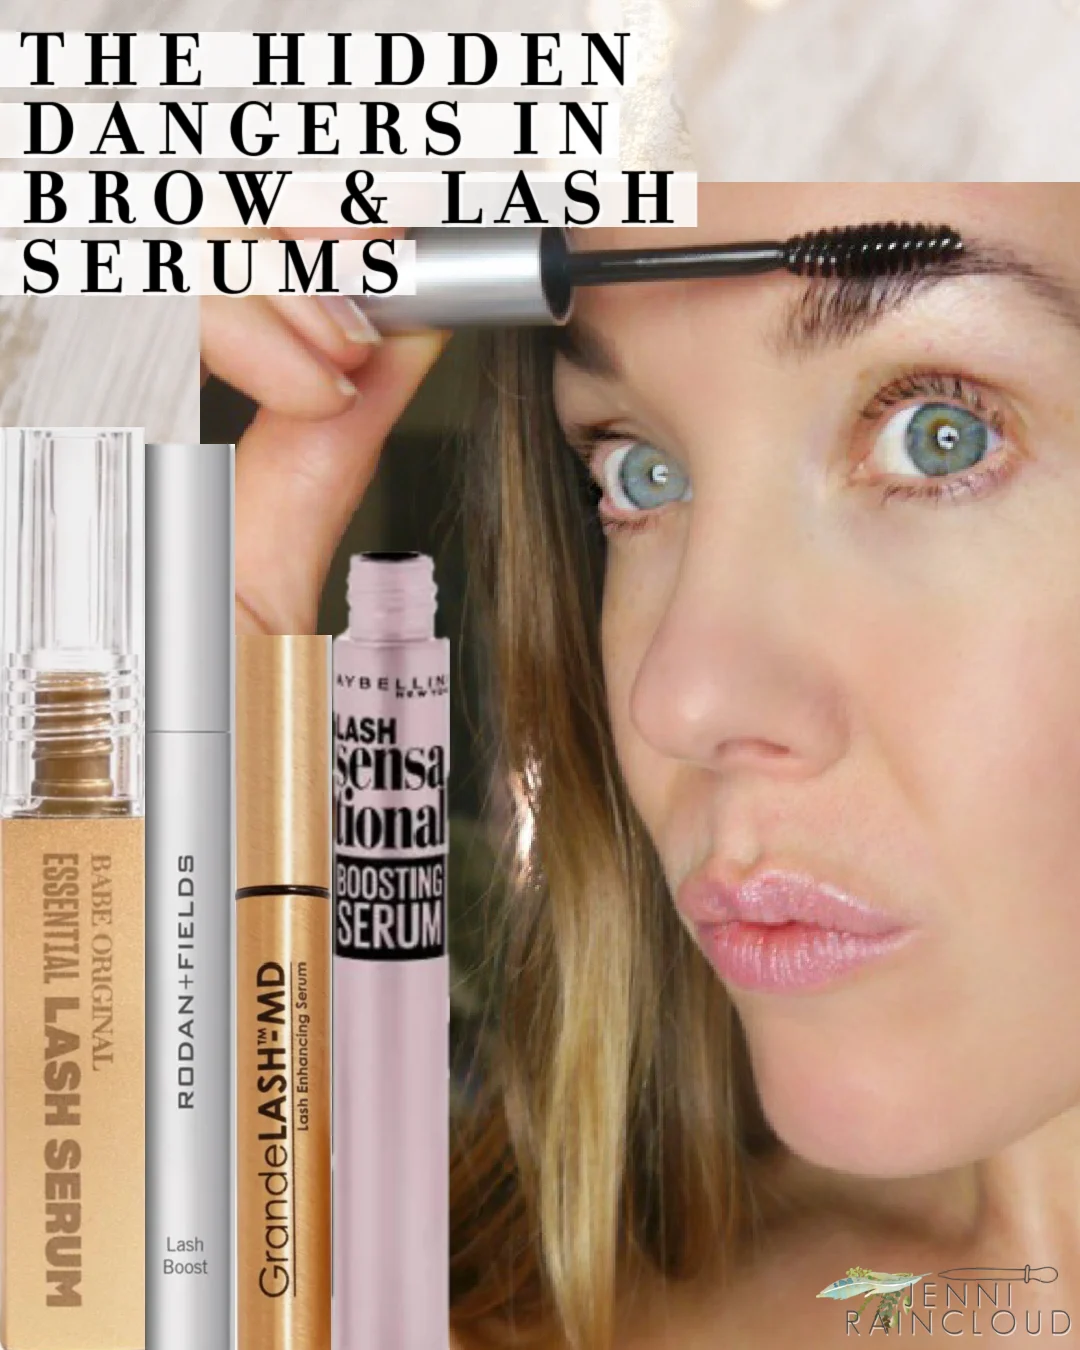
  • GrandeLASH-MD: Contains Isopropyl Cloprostenate. This is one of the most widely used over-the-counter growth serums on the market.
  • RevitaLash Advanced: Contains Dechloro Dihydroxy Difluoro Ethylcloprostenolamide, a synthetic prostaglandin derivative.
  • Babe Original (Essential Lash Serum): Contains Isopropyl Cloprostenate. Note that they also make a separate “Renewing” SKU which is prostaglandin-free.
  • RapidLash Eyelash Enhancing Serum: Contains Isopropyl Cloprostenate.
  • NeuLash Lash Enhancing Serum: Contains Isopropyl Cloprostenate.
  • Latisse: Contains Bimatoprost (0.03%). This is a FDA-approved, prescription-only lash treatment. 

There Is Good News….

Luckily the side effects of PGAs are fully reversible after a few months of not using the serum. Unfortunately, some side effects of beauty products aren’t reversible.

More good news is that there are other lash and brow serums that do not contain these ingredients. Including my Big Brow Serum I sell on my Etsy shop! My serum contains only plant based ingredients and it works! I use it regularly to keep my brows in tip top shape. Having hypothyroidism causes my brows to thin so using my serum has really kept that at bay. Plus, every time I wax my brows, too much hair gets removed every single time! 

My brow serum won’t work for lashes because it contains essential oils. Some eyes can take a small amount of essential oils, mine cannot so I don’t recommend it for lash use. However, if you are a DIYer, you can find my brow serum recipe HERE and omit the essential oils or use THIS DIY recipe. 

Alternative Lash Serums That Do Not Contain PGAs:

If you’re a brow gal like me, you might want to check out my Brow Post Round Up. This post contains every brow post I’ve ever written including how to shape and dye brows. Dying brows can make a HUGE difference. I don’t go a month without doing it. 

My brow serum is 30% off for a very limited time so grab one while they’re on sale and in stock!! 

xx, Jenni

Jennifer Phillips

Jennifer Phillips worked as a licensed aesthetician for over 8 years before creating the DIY skincare blog, Jenni Raincloud and her natural skin care line, J. Raincloud Organics. Jennifer has been blogging full time for 16 years and loves to gain and share knowledge on how to achieve beautiful skin the natural way.

Find me on: Instagram | Facebook

Tags: , , , ,
Best oLive
Privacy Overview

This website uses cookies so that we can provide you with the best user experience possible. Cookie information is stored in your browser and performs functions such as recognising you when you return to our website and helping our team to understand which sections of the website you find most interesting and useful.